Jan 20 , 2007

The Materials

I used Warbird Colors water-based paints to do all my primary painting, which included the tri-color splinter chamo scheme and all insignias/markings. After my experiences with shooting Latex house paints on my SBD, I knew I wanted to stick with water-based paints again. I had heard so much about Warbird Colors that I felt it was worth looking into and decided to talk to Chuck Graves at WC to see if these paints were going to be right for this project.

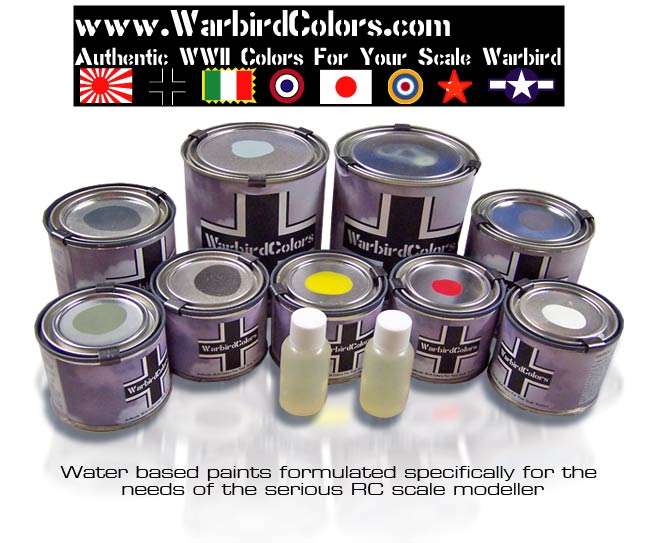
About Warbird Colors paints

Warbird Colors primers and paints are water-based polyurethane coatings designed specifically for model aircraft builders. Utilizing state-of-the-art spectrometer analysis, WC paints have been color matched to the colors utilized by the countries involved in WWII. Warbird Colors provide a safe, simple to use and authentic color match for scale warbirds.

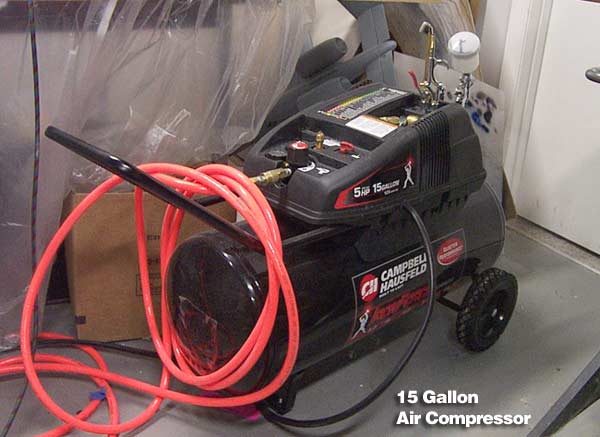
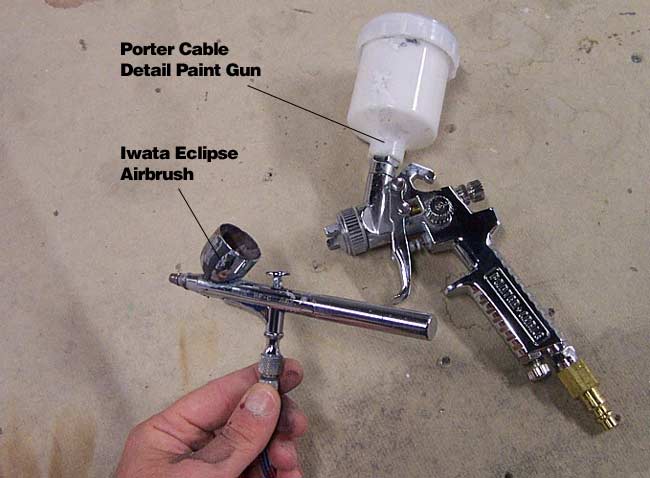
WC primers and paints are water-based, therefore they are non-flammable and thus safe to use indoors. Additionally they are low in VOC (volatile organic compounds, or thinners), low odor and clean up easily using water. WC paints can be applied over all materials encountered in scale modeling such as fiberglass, wood, metal, and fabric coverings. They can be applied using a brush, standard spray equipment, a HVLP spray system or via airbrush.

With any paint job, the quality of the final finish is directly proportional to the quality of surface preparation done prior to painting. Surfaces must be sanded to a smooth finish and all holes, dings, gaps, etc. must be filled with the appropriate material and sanded. Wooden surfaces must be covered with fiberglass or some form of covering , etc. and sealed with epoxy resin, dope, or PolyCrylic finish. Failure to do so may cause the wood to expand or warp, and possibly split along the wood grain due to the water present within the paints.

All fiberglass and molded plastic parts should be sanded lightly using a fine-grit sandpaper and washed and wiped clean prior to painting to remove any parting agents and surface residues, and provide a clean bonding surface for the paints.

Covalent bonding agent

Warbird Colors paints are designed to be used with a covalent bonding agent, or "crosslinking additive." It is the addition of this bonding agent or crosslinker which gives WC paints the additional property of resistance to model airplane fuels (including gasoline). Proper usage of this crosslinker will provide fuel proofing for model airplane fuels containing up to 15% nitromethane content. The crosslinker must be added to the paint in the amount of 8 drops of crosslinker per one ounce of paint.

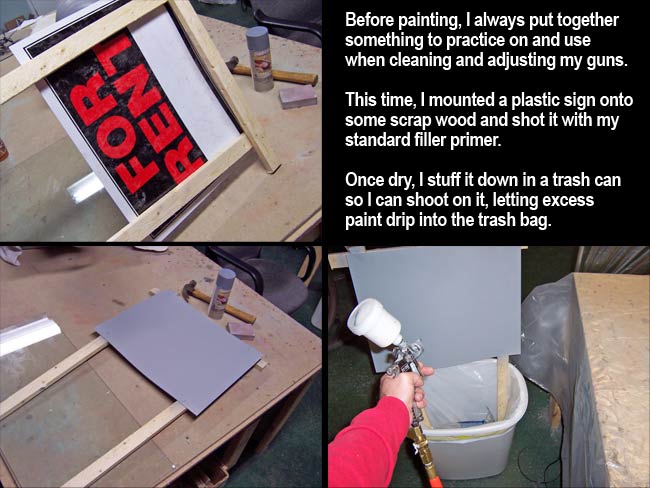
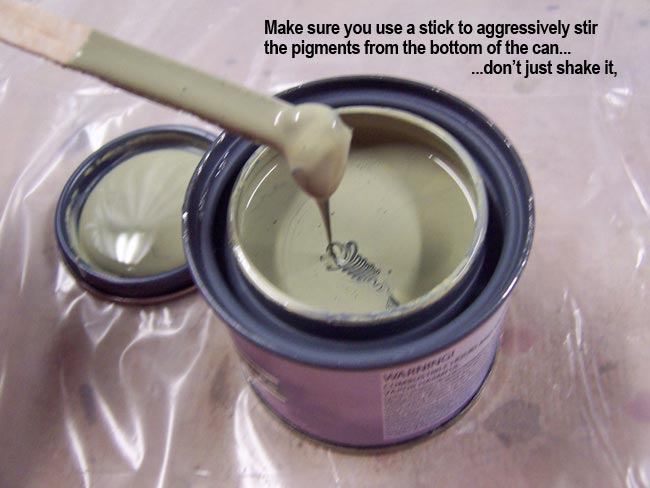
The crosslinking additive also acts as a catalyst or hardener. Therefore you should only mix the amount of paint to be used within a short period of time. Once the bonding agent is added to WC paint, it can only be stored for a limited amount of time before it will begin to harden or jell. During the painting process, it may be necessary to clean the spray tip of your paint gun to eliminate clogs, spattering etc. and ensure a smooth finish.

Which colors?

For this project, the following list of WC paints were used...

Entire Bottom & Fuse Sides – RLM 76
Top – Camo Pattern of RLM 74 & RLM 75
Cowl Bottom – RLM 04
Cowl top – Alternating Stripes of RLM 21 & RLM 22
Rear Fuse Band – RLM 23
Flaps and Wheel Wells – RLM 02
Wheels – RLM 70
Entire plane - Satin Clear Coat


The Tools


To get a good paint job, you need the right tools. The majority of this paint job is done with a Porter Cable PSH2 detail paint gun. This lays down a decent coat of paint with just the right pattern. It uses a removable plastic gravity feed paint cup on top, and holds just enough paint to do the job without having to remix. I believe the stock nozzle (which is what I use, is .8mm.

For smaller details and weathering, I used my Iwata Eclipse HP-CS artist's airbrush. It has a small gravity feed cup on top which gives good paint flow with a minimum amount of paint required. This is very helpful when you only need a dab to hit a small spot, wasting very little paint. I believe the stock nozzle is .35mm with a 1/3 ounce top-feed paint cup. As with any airbrush worth it's weight, the Eclipse has a dual-action trigger, which allows you to push down to control the amount of airflow, and pull back to simultaneously adjust the paint pattern size and volume. I use Badger airbrush thinner to keep it cleaned and lubed.

I ran both of these guns off of a 15 Gallon Campbell Hausefeld air compressor. Quick disconnects allowed me to easily switch back and forth between guns. I set the regulator to about 25-27 psi to spray WC paints.


Setup

Before painting a big project like this, I have a standard setup that I go through before starting. After cleaning up the mess created from getting to this point in the build, I put together something that I can shoot paint onto whenever needed. This allows me to test the paint mixture and gun settings and adjust as needed until it's ready for the real deal. It also gives me something to shoot at when I'm cleaning the guns out.

To best find out if my mixes and settings are going to work properly on my plane, it's best to make sure my test object is similar to the plane's surface. So, I picked up a plastic "RENT" sign, scuff-sanded it and then hit it with a few coats of Filler Primer (same as used on my plane).

I then mount the sign on some scrap wood and stuff it down inside a wastepaper basket. Any excess paint or water can then drip off the sign down into the trash bag. Lastly, I need some sort of makeshift "poor man's" paint booth to keep the paint from floating airborne all over the room.

Fortunately, these paints are of such low toxicity and odor that I'm able to get through a project like this without any major exhaust venting, but I do use a mask and pop the outside doors open to give the airborne particles somewhere to safely go. But, to keep the immediate blast of paint under control, I build my makeshift booth by just hanging plastic drop cloth over and around the entire workbench. It takes only a few bucks and a couple minutes to tape the cloth up to the fluorescent lights over my table. I still get some paint dust on tables around the room, but it is minimal.


About using WC paints

Warbird Colors paints are high-solid, high pigment content coatings. These solids and pigments will settle in the can over time. These solids MUST be mixed prior to painting. It is recommended that WC paints be stirred (as opposed to shaken) to thoroughly mix the solids and pigments prior to any other steps in the painting process.

I found that some cans had settled less than others and required much less mixing with the ol' wood stick. Once mixed up, I measure some paint out in measuring cups, add my 8 drops of cross-linker per ounce of paint, stir again, and then thin.

My experience with Latex was such that each color required a different dilution ratio, different air mixture setting on the gun, etc. The amazing thing that I found with WC paints was that this was not the case for me this time. I mixed ALL colors with 20% water to thin, and never adjusted the 25-27 psi pressure or air/paint mix settings on the HVLP gun once. This was the easiest paint to shoot I have ever seen in nearly 30 years of shooting paint through a gun. Unbelievably user-friendly. Note that when shooting through an airbrush, the mix needs to be a little thinner... about 40-50% water.

Clean-up with soap and water is quite easy, but if it gets to dry, you need to break it down a little sometimes with some thinner. I found that TAMIYA Airbrush Thinner worked very well at breaking up paint that had hardened in the airbrush or paint gun. For more on using WC paints, turn the page and read on as we get started in putting some color to this fine bird...


"paint pt2 - base colors & markings"


| Scout Recon | Building the 190 | Paint & Detail | Cockpit | On Patrol |

back to tompierce.net - rc planes