Jan 12 , 2007


Setup and technique

About 99% of the scale fasteners used in the FW190 were flush rivets as opposed to the raised, dome-head rivets often seen on other aircraft. To simulate these, a simple tool is fabricated from a common soldering iron.

First I create a "branding iron" of sorts by sliding various brass tubes inside one another, working my way from the diameter of the soldering tip down to the diameter of the rivet I intend to simulate. Once I have them all sleeved together, I crimp them with pliers so the don't slide apart. Next, simply loosen the set screw and remove the soldering tip so that you can replace it with the brass tube assembly you just made. You may have to shim it with some vary narrow brass tubes so that you get a good tight fit. This is more for heat transfer than fit. Go ahead and tighten the set screw and you're just about ready to go.

I have found that bending the tip at nearly a right angle makes it much easier to keep a steady hand when applying the rivets as it allows you to rest your hand on the surface while keeping the tube perpendicular to the surface. The last step before burning in rivets is to lay out all of your rivet lines. I sketch them down with a pencil, following any reference material available as closely as possible.

Now you're "ready to burn". Just follow along your lines and tap the tube down in position for about a second and it will burn a nice ring into the primer. Areas with heavier primer will burn much deeper and faster than those without. Areas with thin or no primer coverage will take longer to burn and produce a shallower, but actually cleaner rivet ring.

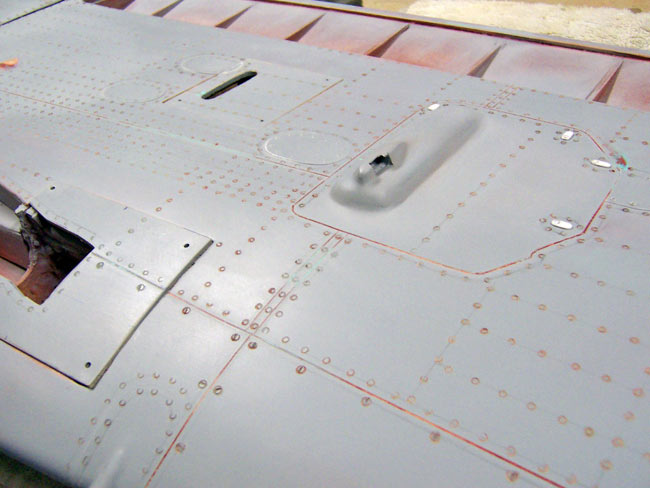
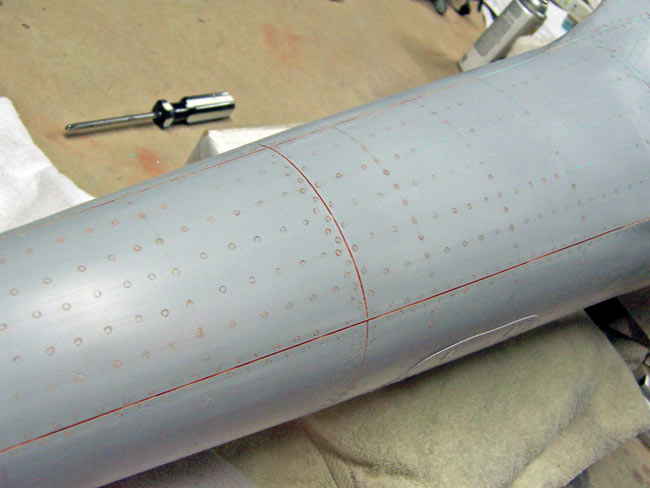
Note that it is very important that you stop every 15-20 rivets and clear the tip of residue. Areas with primer coverage will tend to melt up into the brass tube and clog the tip quite frequently, so just clean it out with the tip of an X-acto knife and scuff the outer surface of the tubes with a sanding sponge or sandpaper to keep the outside clean.

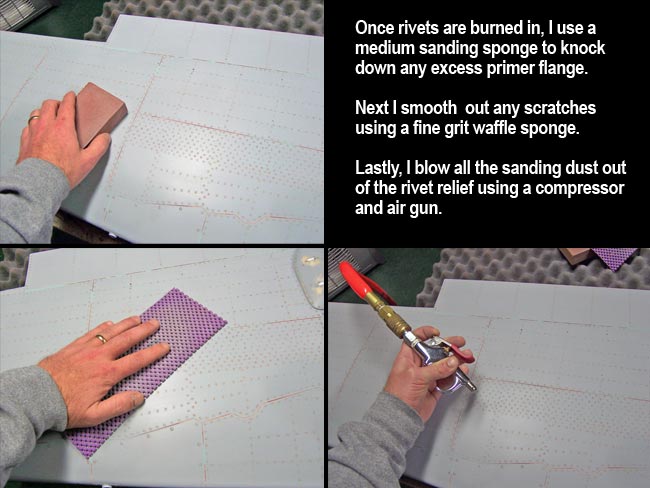
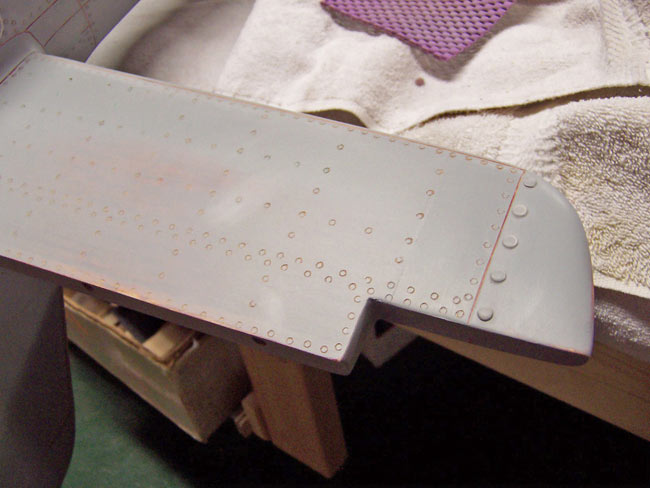
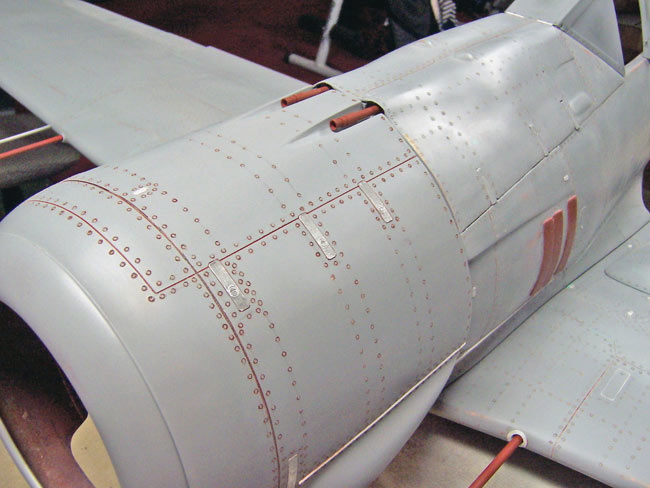
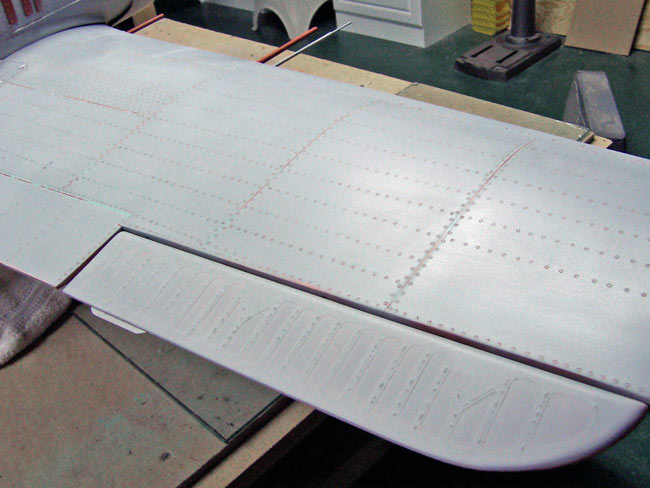
Once you have applied all the rivets to an area, you'll find that the heavier primer areas can tend to have a "flange" of paint melt and stick up around the edges. I level all my rivet edges down to the same relief by hitting the whole area lightly with a medium grit sanding sponge. Then, I follow up with a fine grit waffle sponge to smooth out any sanding scratches.

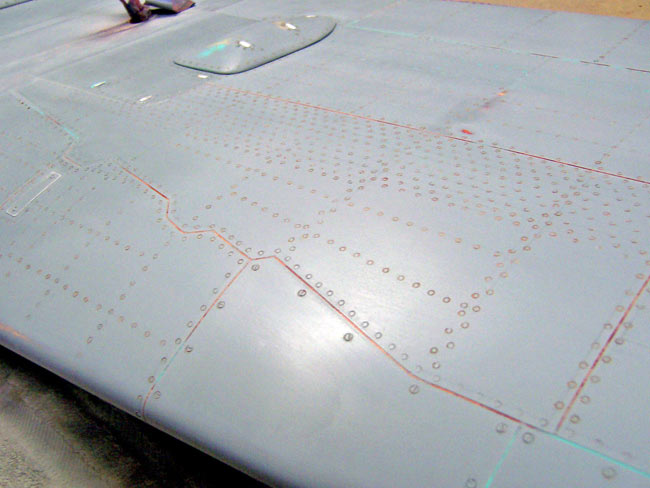
Once you've done this sanding, the primer dust will plug up the rivet relief on the plane, so I just take an air gun on my air compressor and blow out all the rivet rings to clear them out of any sanding dust. Otherwise the paint will plug up with the dust filling any relief and hide all your work.

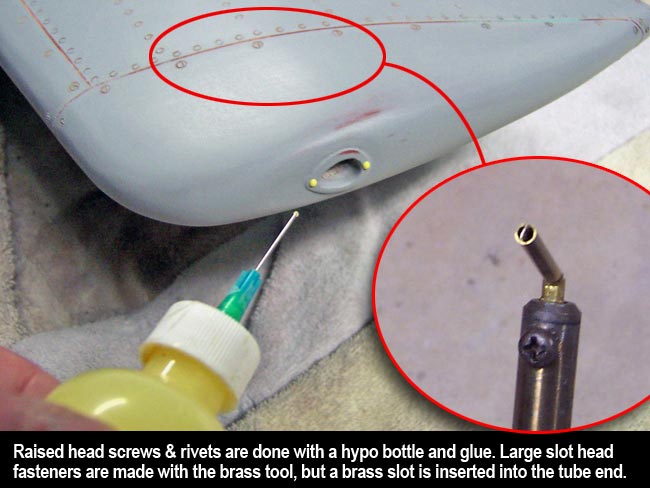
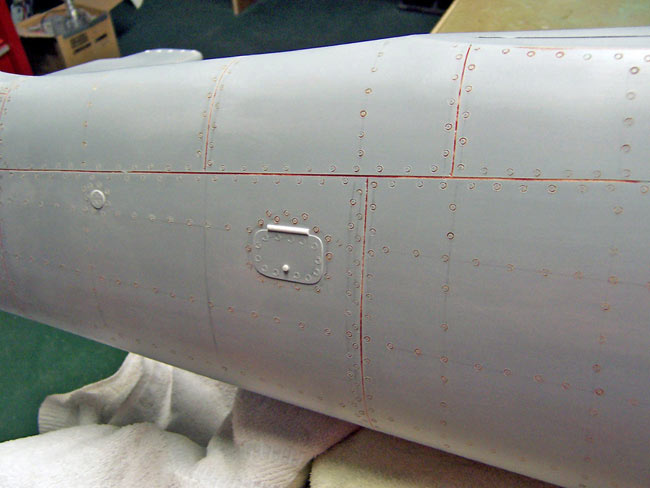
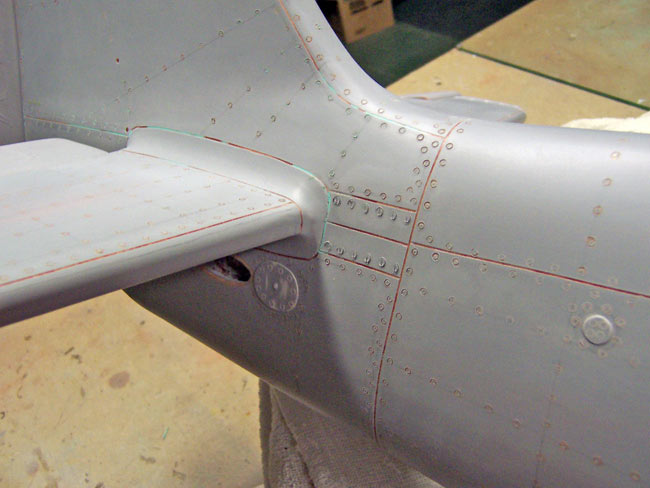
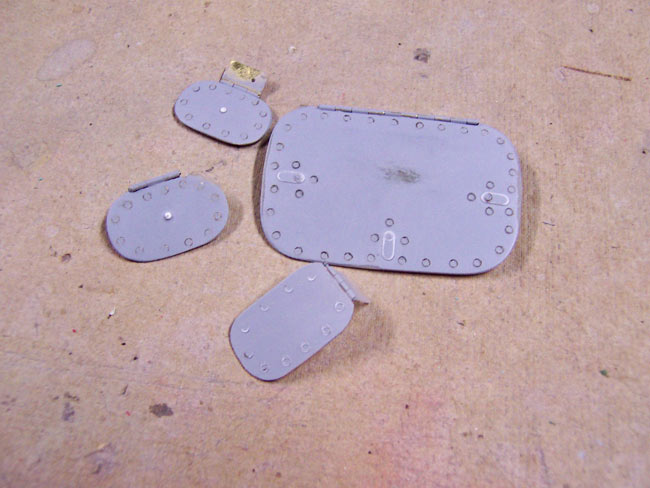
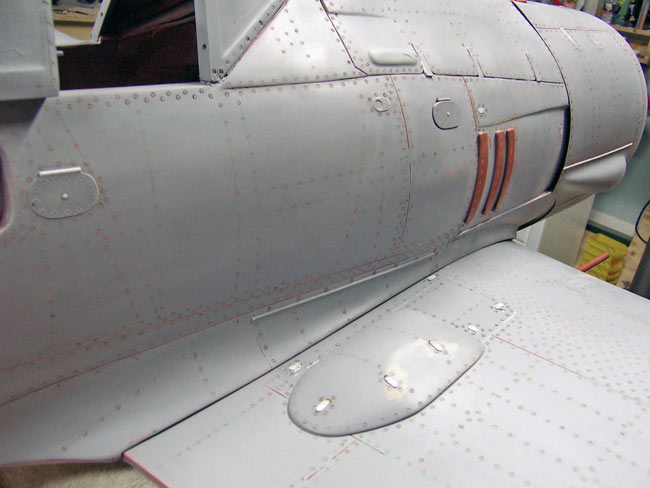
For larger slot-head style fasteners, I use the same technique with a larger diameter brass tube and one other modification. I take a thin sliver of brass and slide it down inside of the tube to make the "slot" feature. This burns the ring and the slot all in one pass.

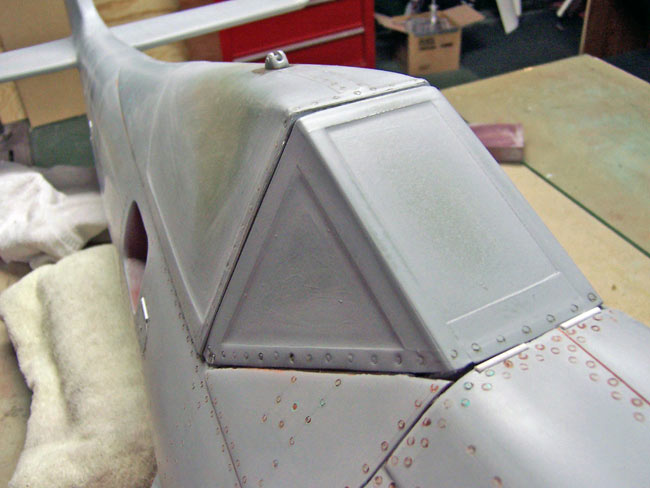
As for raised/dome-head rivets and screws, I use a hypo bottle with some water based glue in it to place small droplets of glue down on the surface. When they dry, you get a pretty decent pan head or dome head fastener. Many different glues will work for this, but I generally use Elmer's white glue with a little Titebond mixed in and thinned with water. The water is only so that it will be thin enough to pass through the needle of the bottle.


Execution

Finishing up

It's very tedious and time-consuming to apply the thousands of scale rivets, but it is simply not an option if you are trying to make a convincing warbird model. Those scale panel lines and rivets do more than anything in regards to bringing the plane to life. Just take your time, double-check your lines, and try to enjoy it.


It took me a few evenings to complete all the rivets on my FW190, but it was well worth the effort. Now that I have them done, I'm pretty much done with all construction and ready to paint. The only other construction/fabrication that remains is the cockpit interior, which I won't do until the plane is completely finished.

Well, I couldn't resist fitting most of the components together to get a feel for what she looks like with all the details done. Here's a few pics that give you an idea of how it's all coming together.

That's it for now, time to set up a spray booth and clean up all my painting tools. I've got to get this shop flipped from building mode to painting mode in a hurry and hopefully make short work of the paint job.

The next time you see her, she'll be wearing her colors. No markings or weathering yet, just the base colors. Stay tuned.


"paint pt1 - matls & tools"


| Scout Recon | Building the 190 | Paint & Detail | Cockpit | On Patrol |

back to tompierce.net - rc planes