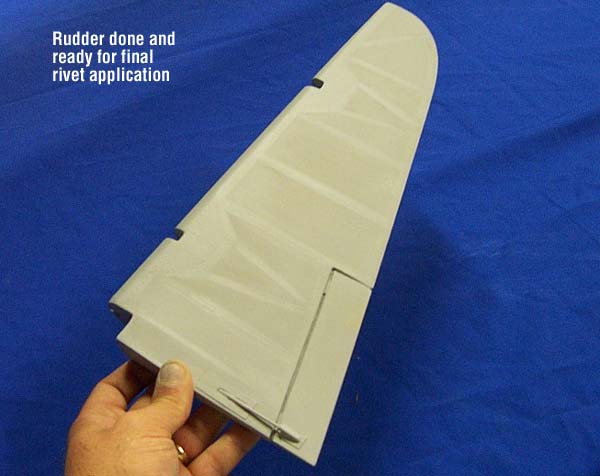
Finishing the control surfaces
 This was my first crack at covering control surfaces with fabric covering, so I learned a lot doing it... like the fact that "I don't like using fabric covering!" Actually, I felt that this was the most difficult part of building this project yet. This was my first crack at covering control surfaces with fabric covering, so I learned a lot doing it... like the fact that "I don't like using fabric covering!" Actually, I felt that this was the most difficult part of building this project yet.
As with glassing a plane, there are dozens of materials and techniques to choose from and even more "passionate opinions" on which of them is the best. I'm going to cover the methods I used, but by no means am I stating that they are the best... just my preference.
One thing I was sure of though, was the "look" that I was going for. I've seen many modelers apply what I think is too much relief to the fabric details and rib stitching, causing an unscale appearance.
For example, the pinking shears that I have seen used for the rib stitched fabric has a serrated edge that is far to large to be scale accurate and looks unnatural. Also, this technique produces too deep of a relief and far too crisp and straight of an edge to look scale.
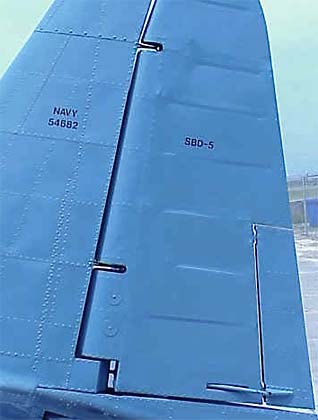
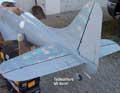
I studied many photos of historic and restored Dauntlesses, and found that the fabric details going over the ribs and framework were much more subdued and appeared more like depressions and raised areas randomly appearing along the ribs and framework (see photo at right). Bottom line is that the raised relief on your fabric surface details should not be as crisp and high as the panel lines on your airframe, however on many models they are even more vivid than their panel lines.
The photos also showed the rivets that were visible through the fabric covering, yet much more subtle and random in relief than the crisp edged rivets on the metal skin, due to being covered by fabric and dope. This is the look I'm going for.
|
|
|
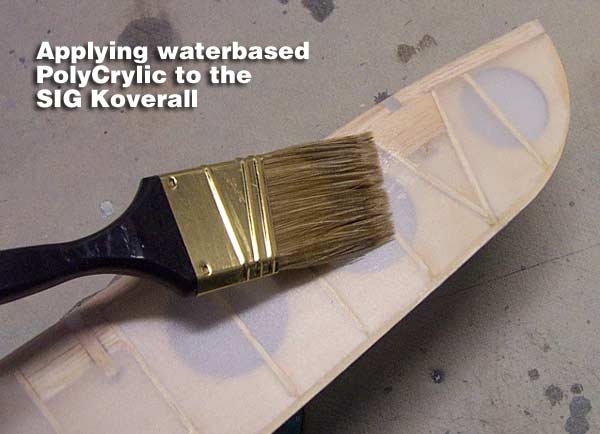
| Applying SIG Koverall with WB Poly
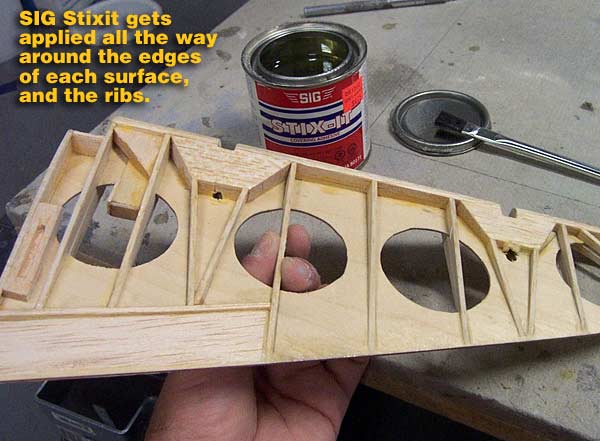
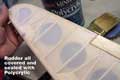
My choice for covering my control surfaces was SIG Koverall. I prefer to avoid highly toxic fumes such as those produced by conventional aircraft dope, so I decided to apply it using the same Minwax waterbased PolyCrylic that I used for glassing my plane. But first, to adhere the Koverall, I used SIG Stixit, which is a heat sensitive glue that you apply around the edges of your surfaces and on the ribs.
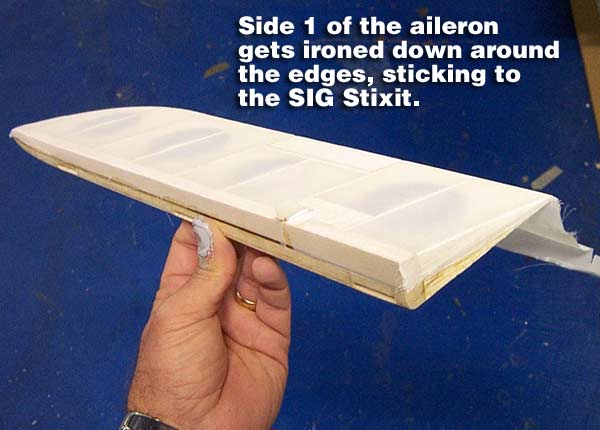
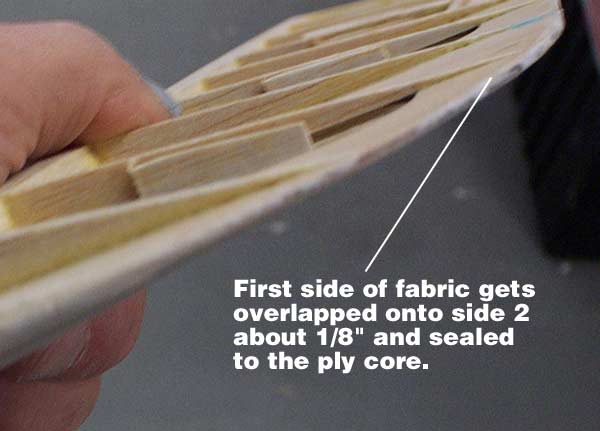
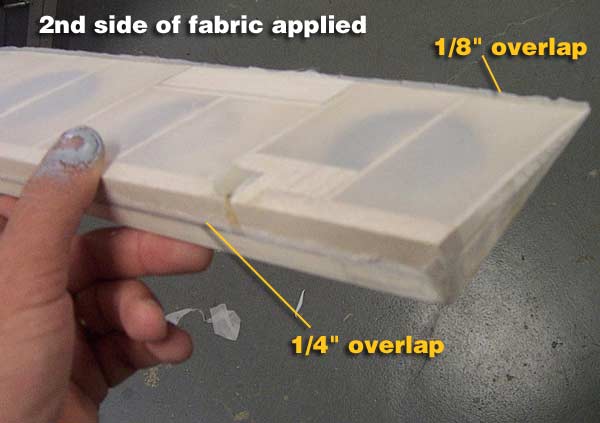
After applying the Stixit to each control surface, I applied the Koverall and ironed it down around the edges. Leaving about 1/4" of overlap around the edges, I flipped the Koverall over onto the trailing edge opposite side and ironed it down. This overlap was only about 1/8" on the opposite side. Now I cut the fabric for side two, and ironed it down, again overlapping it back onto side one about 1/8" onto that fabric. This produces a seam down one side of the surface, but basically, it gets blended in when applying the Polycrylic.
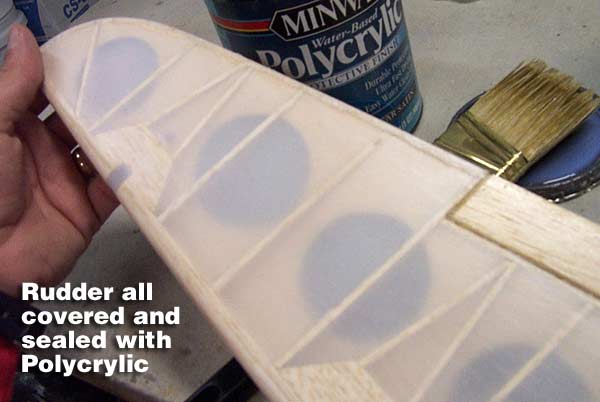
Next you hit it with a heat gun lightly to shrink it down to a nice flat surface, but be careful not to hit it too much with the heat to avoid overshrinking. Now I begin applying coats of the Polycrylic with a high quality paint brush. It dries to the touch in about 15-20 minutes, but you should wait a few hours before sanding or recoating. Since much of the poly is water and evaporates, it takes quite a few coats to fill the fabric weave and get rid of the seams. I go with as many as 6 coats, just like when glassing, and find it to add very little weight.
Sand between coats after the first two coats and you'll have better luck getting rid of the seams. The biggest problem here is that it's difficult to sand the fabric, since there's no hard surface behind it. It just seems to stretch and push down, causing you to sand the ribs and edges more than the areas arround them. It's very easy to oversand and cut right through the poly and fabric, so you've got to be very careful.
|
|
|
Building up the rib stitched & framework areas
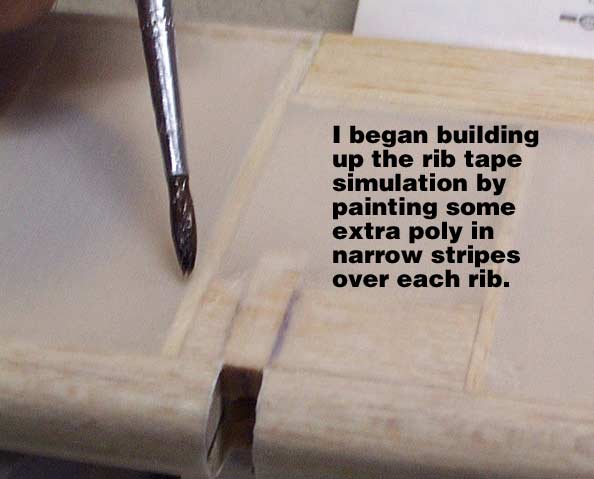
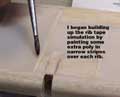
To begin building up the blended relief over the ribs and framework, I actually painted the relief in the appropriate areas with a small artist's brush and more Polycrylic. This is just the first step in building up this look and allows you to "work the look in" gradually and avoid sharp, square and crisp edges and corners.
After all the surfaces have the poly applied, sanded and seams hidden, I then hit them all with primer. Since the fabric surfaces will flex a lot in flight, I decided to use the same Flexible Spot Filler & Primer paint that I used on the cowl. This should help keep the paint from cracking over time.
|
|
|
 |
Getting the "subtle" rivets in
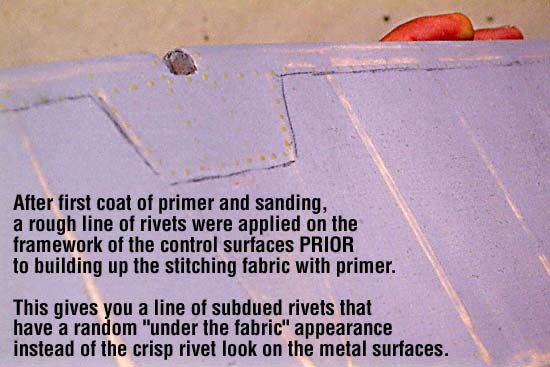
To get the rivet look I wanted "underneath" the fabric surface, I used the usual glue rivet technique over the primer. However, the next step will be adding more primer over top of these to start blending them back into the surface.
|
|
|
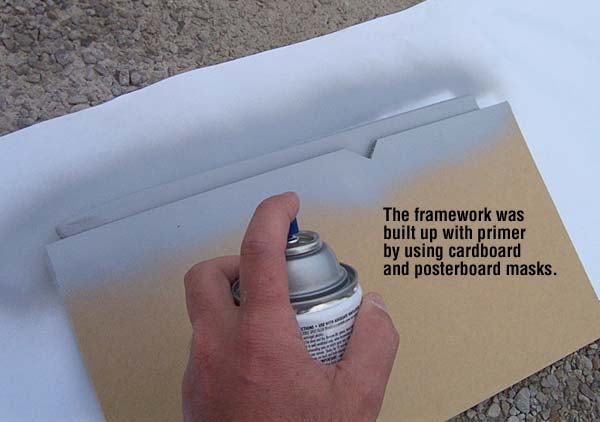
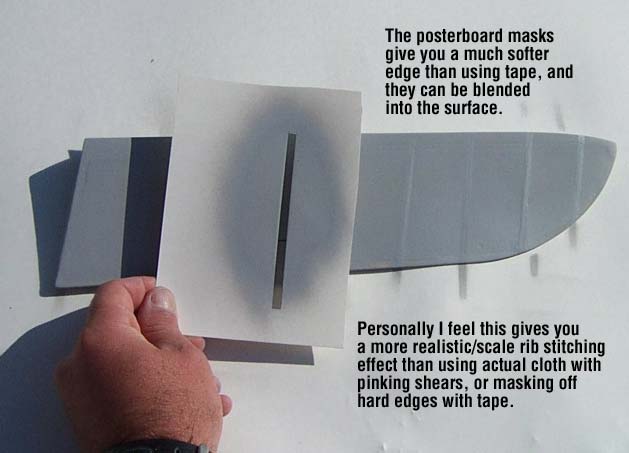
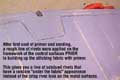
| The next step was to apply the high build Flexible Primer onto the surfaces in the proper areas to represent the raised areas where the extra fabric was applied for rib and frame stitching. Again, to avoid sharp corners and edges, I practically freehand this paint onto the surfaces using cardboard and posterboard as a masking tool. Repeated coats applied in the right areas gradually build up the proper scale relief desired, and give a more random level of relief and shape... much more like the photo shown earlier.
This primer building process also begins subduing the glue rivets into the surface, so you get a less crisp and consistent rivet pattern, which looks much more like rivets "under" fabric & dope.
|
|
|
 |
Trim tab details
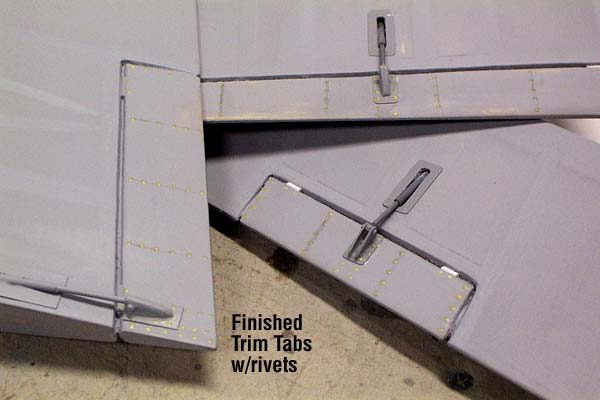
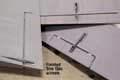
To add more detail to the trim tabs, I built simulated pushrod linkages for 3 of the 4 trim tabs. The elevator has 2 tabs, but only the left one gets the pushrod. Only the left aileron has a trim tab, and of course the rudder has one too.
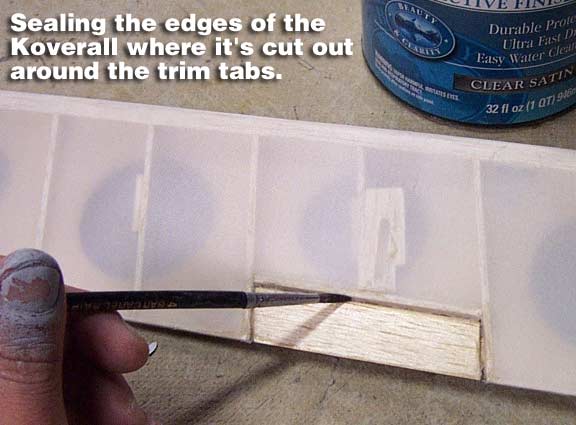
Before adding these pushrods mechanisms, I had to first build up a balsa block on my surfaces prior to covering them with the Koverall fabric. This allowed me to iron the fabric to the balsa blocks, and then cut out slots in the fabric to allow the pushrods to recess into.
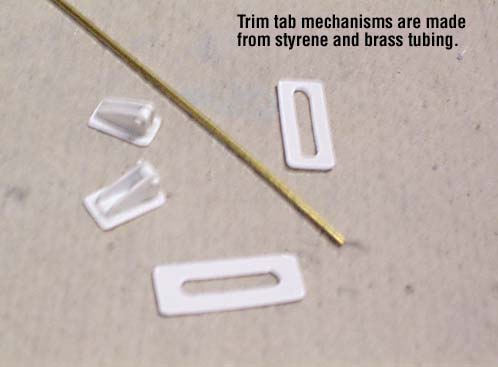
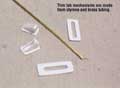
Next I fabricated the linkages out of pieces of white styrene plastic and thin brass tubing. Two sizes of tubing were used to simulate the stepped diameters used in the fullscale linkages. The "control horns" were built up out of styrene and glued to the tabs. The brass pushrods were assembled and glued down into the slots in the fabric and then to the contol horns.
Once all the trim tab mechanisms were done, I added some small simulated hinge plates and threw down the final rivets that go on the metal trim tabs themselves, which don't get fabric covering.
|
|
|
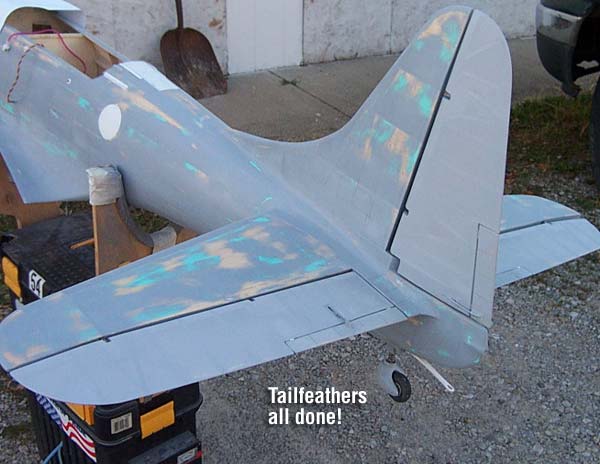
 I will further refine and accentuate the characteristics of the fabric surfaces, rib stitching, etc. when I get to the painting and weathering phase of this project. At that point I will be able to apply slight variations in color and finish to make the surfaces come to life even more, without having to add unscale relief. I will further refine and accentuate the characteristics of the fabric surfaces, rib stitching, etc. when I get to the painting and weathering phase of this project. At that point I will be able to apply slight variations in color and finish to make the surfaces come to life even more, without having to add unscale relief.
Overall I was pretty pleased with the end result, which was what I personally feel to be quite convincing scale control surfaces. I'm not sure I'd use these same materials again in the future due to all the problems I had trying to sand and seal the seams. Maybe it was my technique, not the material... but the only way I'll know for sure is to test and/or try something different on my next project. I just don't look forward to the toxic odors and mess you get when working with dope... maybe that's why they call it "dope?"

"Airframe Rivets & Screws"
|