|
|
 |
|
|
|
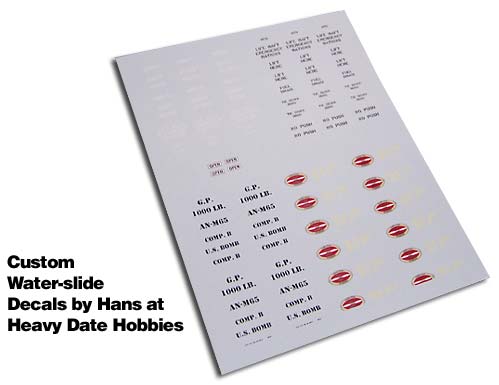
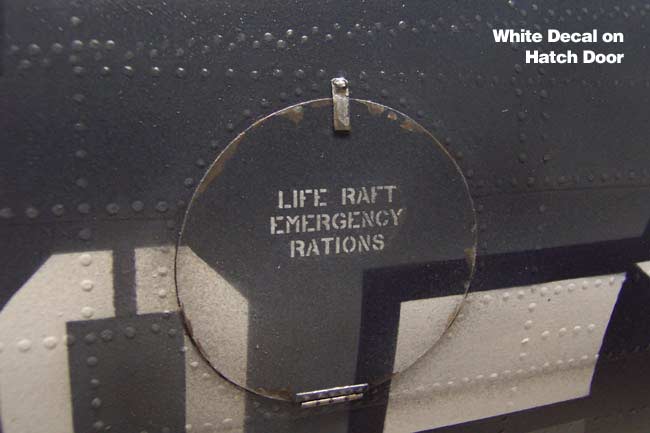
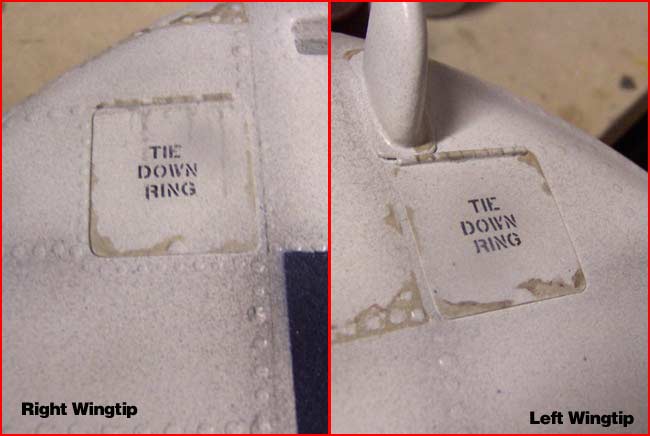
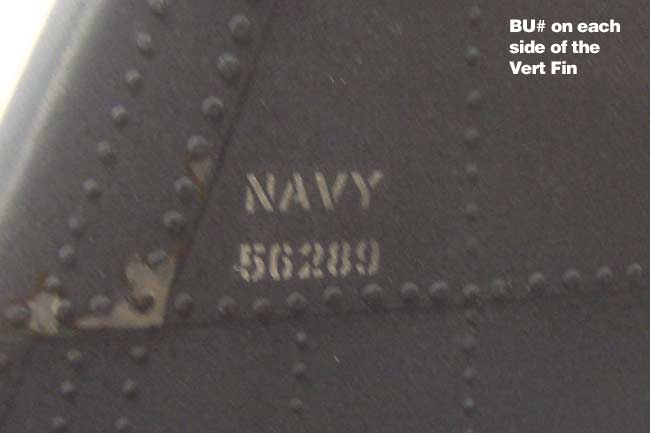
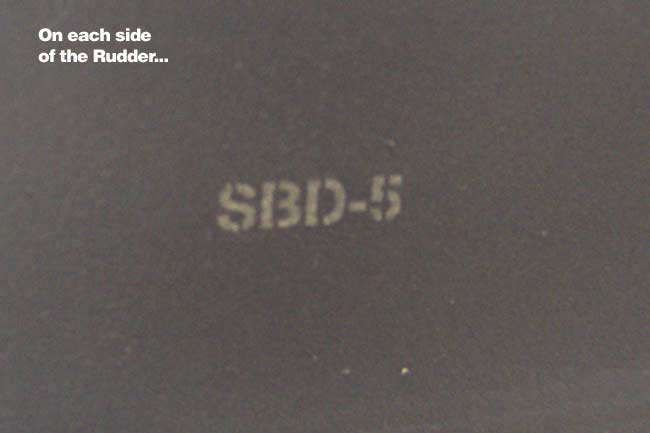
The water-slide decals that Hans makes are extremely thin, and do not require decal set to get them to conform around panel lines, rivets, etc. So thin in fact, that they can be very difficult to apply without destroying them. It took some practice and a few tries to get some of them on, but the end result was worth it. Be sure to let the decals soak in water long enough that the whole decal is ready to "float" right off the backing. Any resistance to coming off the backing will result in a torn decal. Also, keep the surface to be applied to very wet while applying and sliding the decal into position, or it will wrinkle and tear as well. Here are the decals that were applied to the airfame exterior, but I still have to apply the ones in the cockpit and on the bomb & prop later.
Before applying the decals, I gave the whole airframe it's first clearcoat (see below). This provides a better surface for the decals to slide on than just the raw latex and acrylics. Once the decals were all applied, I went back over them with a slight touch of airbrushed weathering to help blend out the edges of the decals and also make the lettering itself look weathered like the rest of the plane.
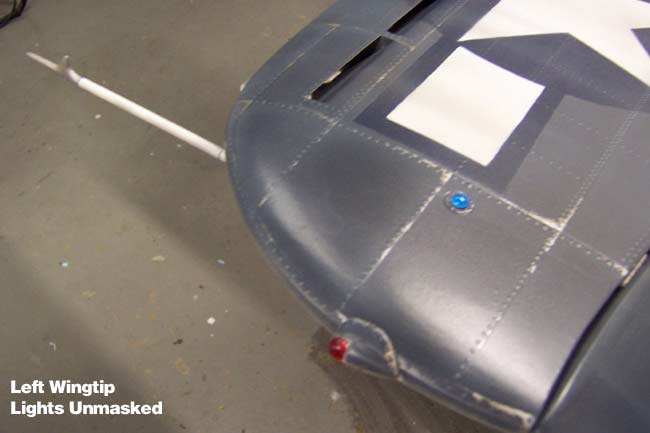
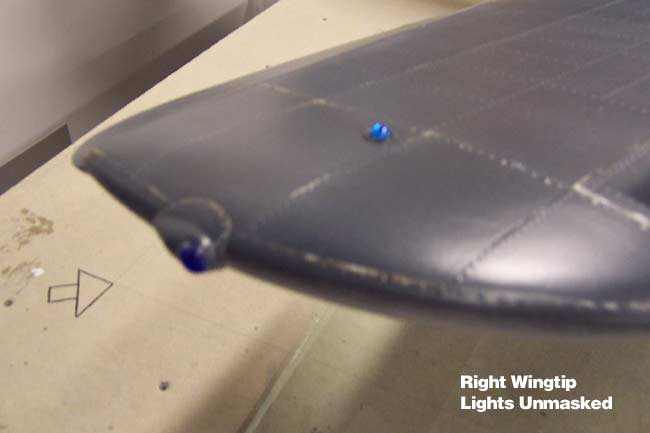
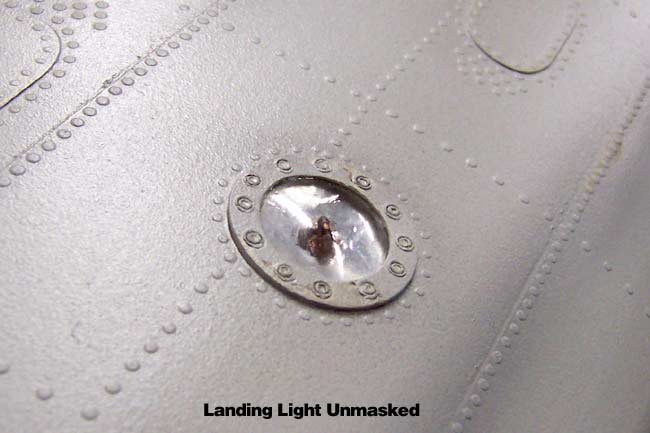
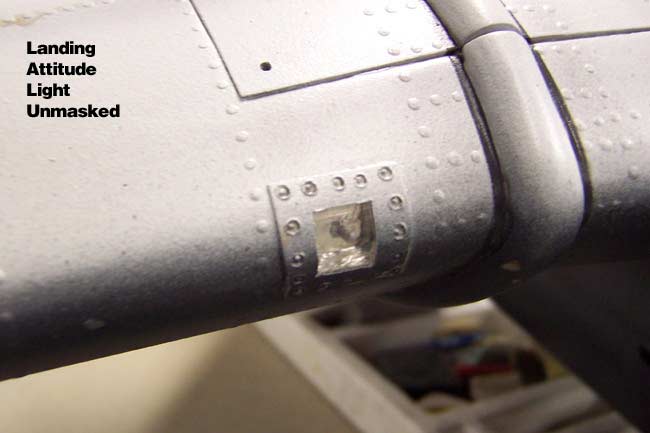
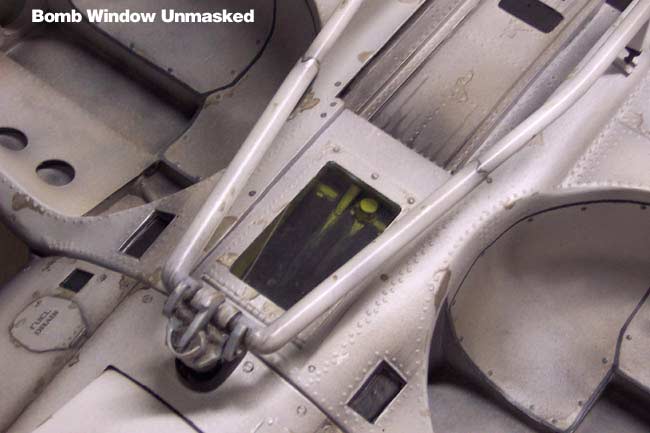
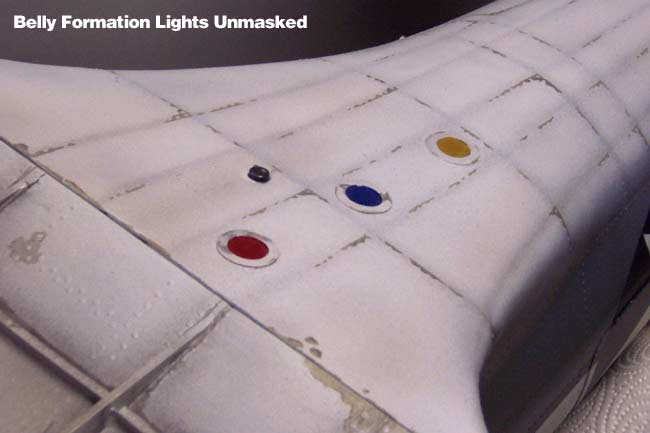
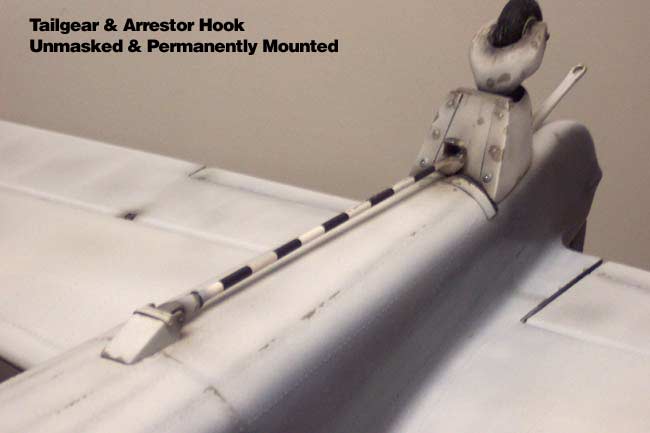
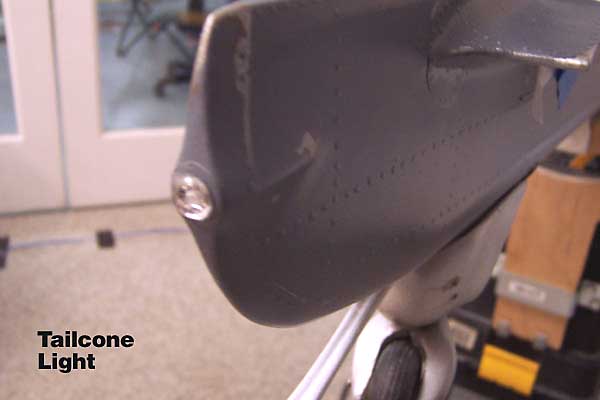
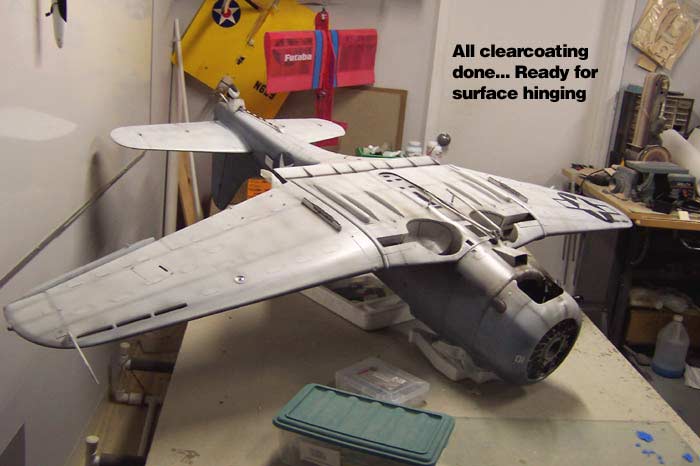
Basically, I ended up giving the airframe 3 coats of clear, one prior to decals and 2 after. The control surfaces got only 2 coats, since I was trying to keep their weight down, and they don't get the abuse and handling that the fuse and wing do. Here are some pics after clearcoating, with the masks finally removed from lights and details.
Unfortunately, even with nothing but pure flat coats, I was still not real happy with the "flatness" of the clearcoats. The bottom white is perfect but the rest of the plane has a little too much specularity for me. Especially the dark Non-specular Sea Blue on the top and the smoke stains. The smoke should be flatter of course, and "Non-specular Sea Blue" should obviously be... well... "non-specular!"
Actually, my research found that after painting the fullscale planes, they would apply a varnish coat over the paint. This varnish was supposed to be glossy on bottom transitioning to flat on top. I did some testing and experimenting later to see if there was anything I can do to "flatten" the specularity on the topside blue...
|