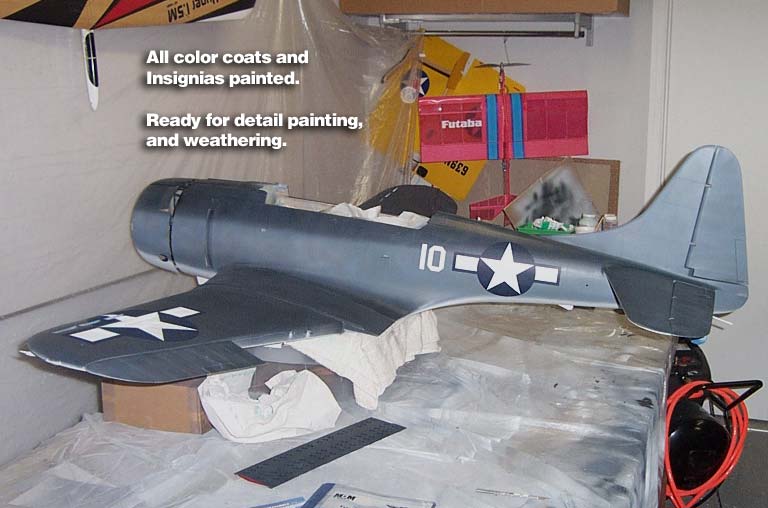
| Wing Insignias
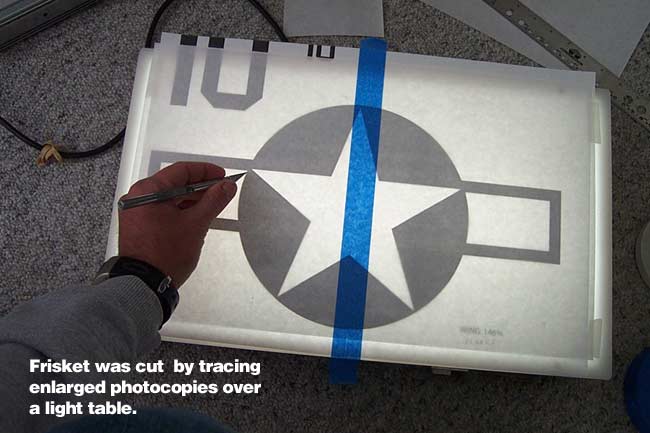
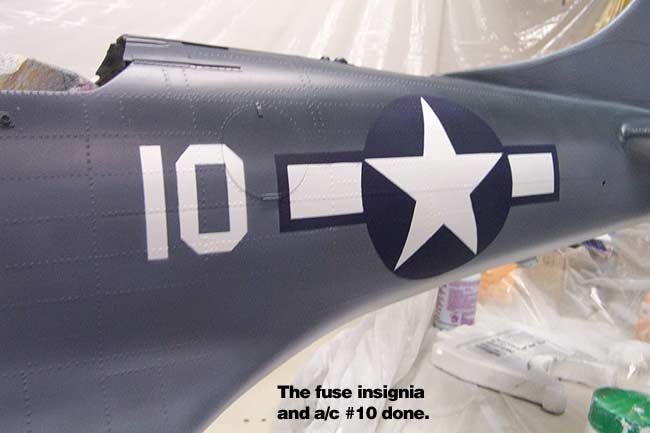
I started by drawing all Navy Star Insignias and the a/c #10 in Adobe Illustrator. I output the ones for the fuse on a laser printer to actual size, then enlarged it with a photocopier to the proper size for the wing. Next I traced the printouts with an X-Acto knife onto Badger Frisket Film to produce my masks. The larger star on the wing required splicing two sheets of Frisket together to get a large enough mask.
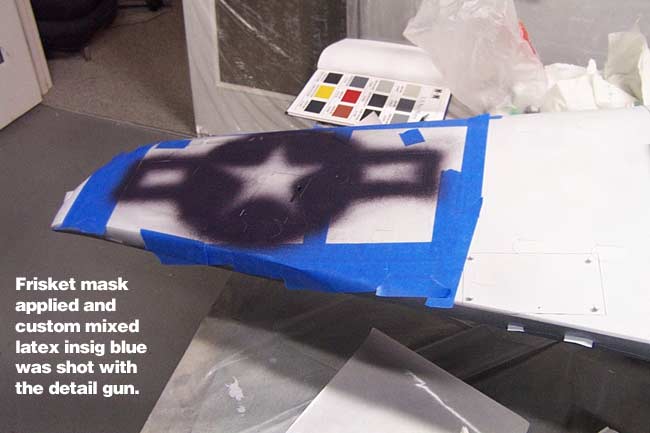
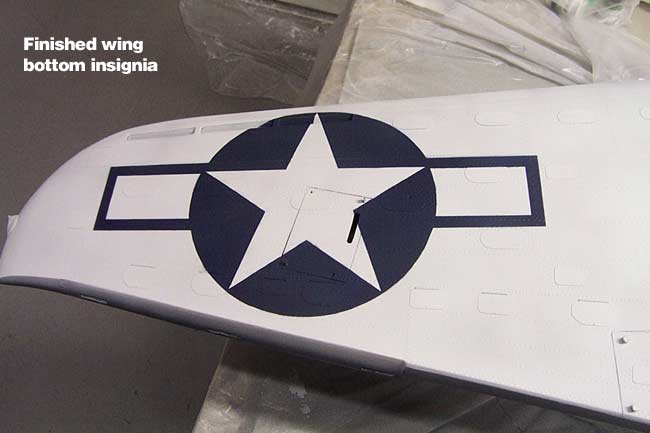
Once the bottom of the wing was masked, I shot my Insignia Blue latex mix onto it with the detail gun. Then I used various shades of this mix and also Model Masters acrylic Insignia Blue to mottle the color and slightly shift it to what I felt matched a scale Insignia Blue.
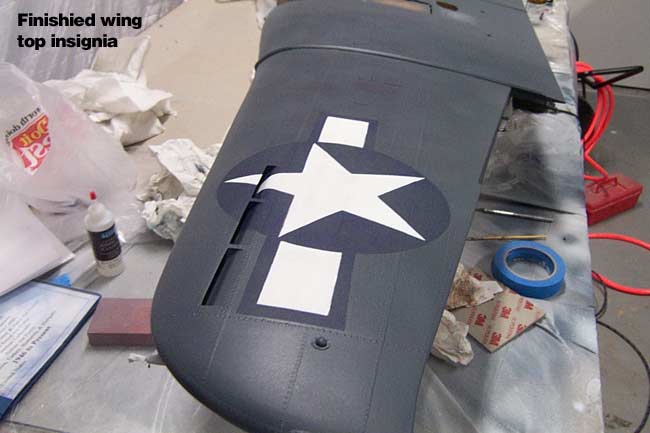
Moving on to the top of the wing, I repeated the process, but it was a little trickier since you have to spray both Insig White and Blue. Also, the star had to run down into the anti-stall "mailbox slots" in the wing. The scheme used on this SBD uses one star on the top of the left wing and one on the bottom of the right wing.
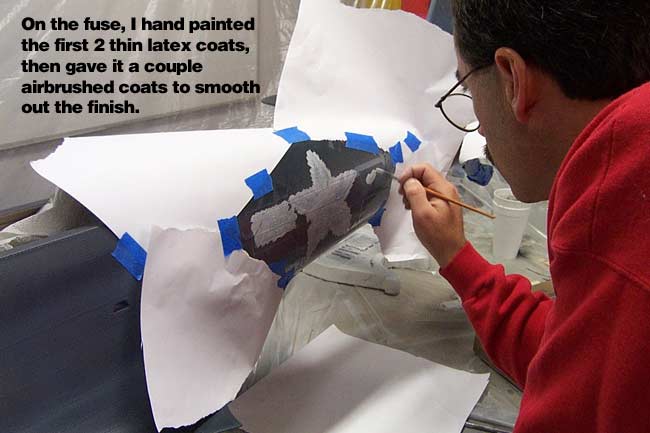
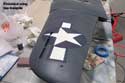 The frisket works great with the latex, since it is so low-tack and doesn't pull the paint off. However this means you'll get the occasional "lifting" of the mask while painting, causing some "underspray." This was touched up later with by hand or with an airbrush. The frisket works great with the latex, since it is so low-tack and doesn't pull the paint off. However this means you'll get the occasional "lifting" of the mask while painting, causing some "underspray." This was touched up later with by hand or with an airbrush.
|