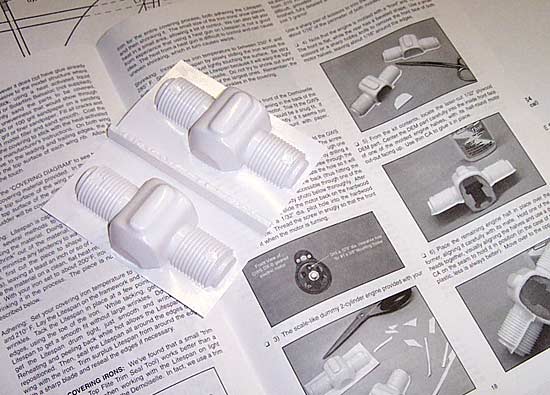
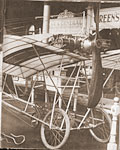
DUMMY ENGINE & FUEL TANK
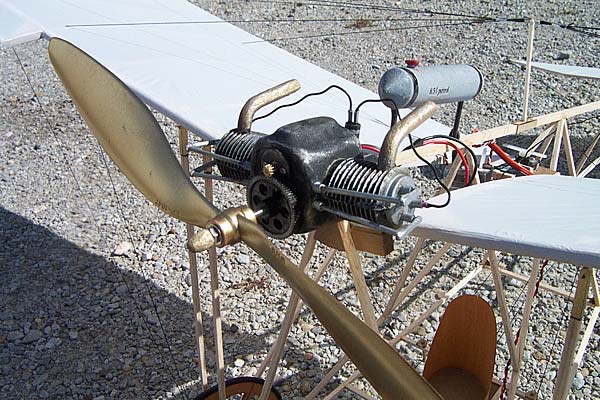
The kit supplies you with a light white plastic dummy engine in the form of two "clamshell" halves that you glue together. You have to dissassemble the GWS gearbox from the motor, glue the halves around it and reassemble it. You are then instructed to paint the dummy engine flat black, but are pretty much on your own as far as detailing it goes. The manual shows you what one "could" look like if you were anal about detail (like me) and wanted to dress it up, but doesn't provide you with any materials to do so.
I built the lifters/rocker arms, spark plugs, etc. out of scrap balsa and plastic tubing and added some scrap wiring. I painted black and silver accordingly and added some stressing & weathering to make it look more real/scale. Adding some engine wear, rust, grime, etc. seems to bring the dummy engine to life.
As for the optional dummy fuel tank, again you are shown how it could be done, but are not provided with any materials to do so. Again, I built mine out of scrap 1/32" balsa sheeting and balsa block, then painted and weathered it, and finally added the supplied decal.
RIGGING
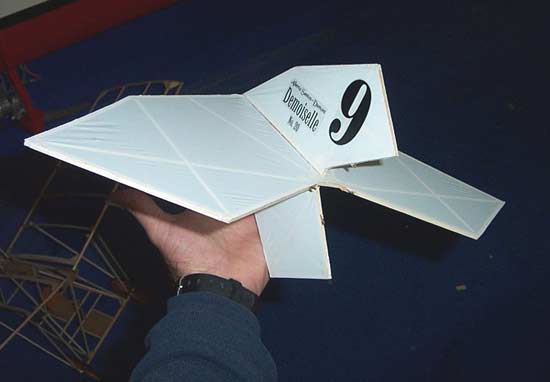
All the optional scale rigging lines and hardware are included and I can't imagine not putting them on... that's half of what makes this plane look so scale and gives it that classic antique look. It's made of a black "elastic" thread that stretches when you move the control surfaces with the other, functional "fishing line" control wires. While the elastic rigging is optional and not really functional, I found that it seemed to really help support the overall structure of the plane and seemed to "stiffen" the wings up a little bit. Take your time threading the rigging through the fuse... it's easy to pass it over a stick or control wire that it's not supposed to, presenting some real problems down the road.
COVERING
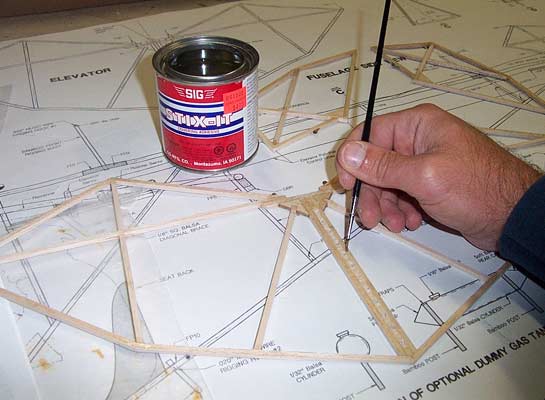
The kit supplies you with LiteSpan fabric covering to cover the wing and tail group. You'll need some heat-sensitive adhesive to apply it with, since the covering has none on it. I used SIG Stix glue and brushed it on the perimiters of each flying surface. Once dry, I was able to iron it on at a low-medium heat and it stuck quite well. Be careful, you don't want to stretch it too tight since it can warp your framework. I had some real problems when I shrunk my first wing half and it nearly caved in the wingtip rib. I had to pull the covering loose on that rib and do some rework to fix it. Just don't go overboard stretching and shrinking this stuff over this light balsa framework... scale models like this look a little more natural with looser, slightly wrinkled covering anyway!
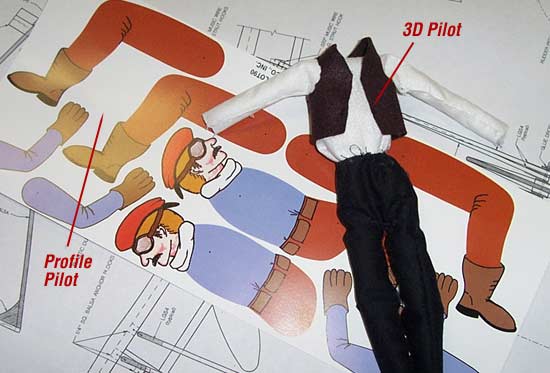
PILOT
The kit provides you with a "paper profile pilot" that you cut out and assemble then glue to the seat. I'm not too crazy about profile pilots on non-profile planes, so I opt'ed to build a 3-dimensional pilot of my own design. I used light-weight fabric from my local sewing/fabric store to sew together the little pants, shirt and vest. I stuffed them with standard cotton balls, stretched and torn apart to add as much "air" into the volume as possible.
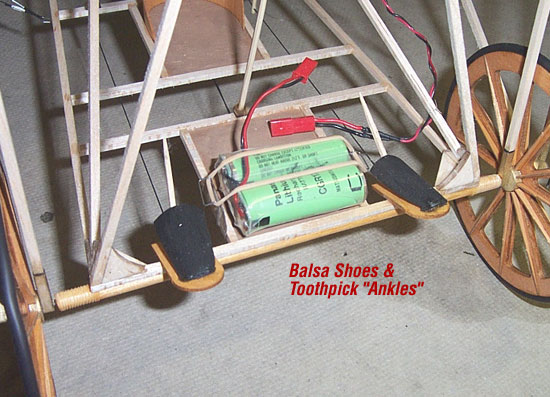
I built the pilot's feet out of 1/32" balsa sheeting, forming it to a basic "foot shape" and CA'ing it to the footpedals. I glued in toothpicks coming up out of the feet like ankles that I could slip the pilots pant legs over onto when placing him in the seat. I carved his hands out of scrap balsa, affixed them to the ends of his sleeves and used a hole down through his "grip" to slide his hands onto the control stick.
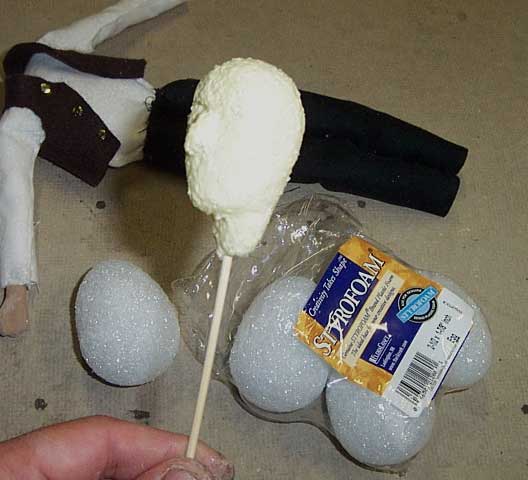
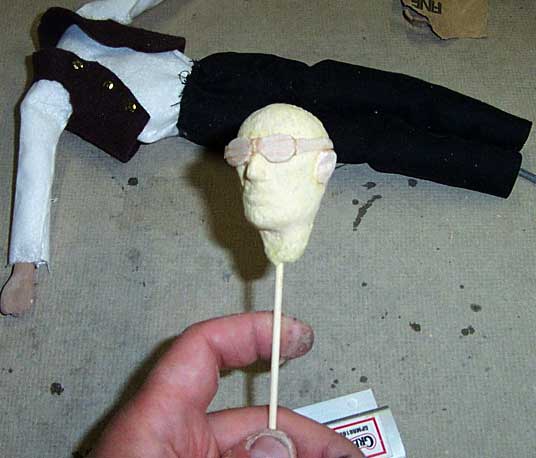
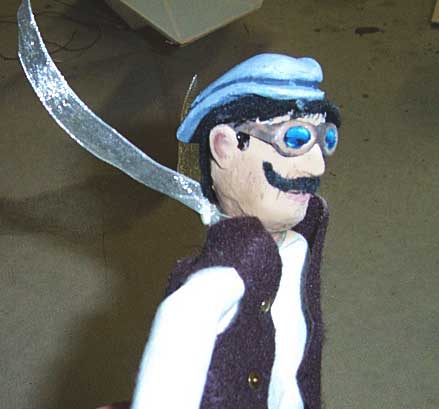
Lastly I built his head out of a very light craft styrofoam, lightly coated with wood glue and balsa putty to smooth it out and create a barrier for the paint and glue to follow. Next I carved his hat and goggles all out of balsa. Then I made his hair and a mustache out of black felt. His head is painted with Testors Model Master paints. I then affixed his head to the body with a toothpick glued into his head and stuck down into his shoulders. I decided to use a small patch of velcro to secure him into the seat, allowing me to remove him if desired for a lower flying weight. Total weight of the pilot was ## ounces.
FLIGHT EVALUATION
I decided to wait for a dead calm day to make my maiden flight. I wanted to be sure that I had plenty of room to trim the plane out before trying to fly it indoors. While dead calm days are few and far between around here, I finally got a "quite calm" day and found a smooth blacktop surface at a local park to use as a runway.
My first attempt to fly this plane was not what I would call a great success. With a mild 3 to 4 mph headwind, the Demoiselle steamed into the breeze, lifted up about a foot off the ground and just sat there hovering headlong into the mild breeze with no forward progress. Deciding it was getting too close to stall speed, I brought her back down. I waited for a lull in the breeze to try again and she wouldn't even get off the ground. I decided to wait for the winter "indoor season" and try it where it was meant to fly...
Update - Indoor Flights a Success
Well I've now had a half a dozen flights or so at indoor gyms and have really enjoyed flying the Demoiselle in that arena. This is what I've found...
The Qualcomm Lithium cell phone batteries simply don't have enough muscle to get this plane off the ground, even at my "under-spec" flying weight. I tried different props with no success. Next I tried a number of batteries, but nothing seemed to give it enough ground speed to get it off the ground. It would just skip along, probably much like the first flights of such pioneering planes.
Next step was to try different props. Upon testing a number of battery and prop combinations, I found that the best performance came from a 720ma 9-cell NIMH pack and a 10 x 8 GWS prop. I know, it's an odd combination and a lot of pitch for a slow-flyer like this, but hey... it works great. I'm getting a good 8-10 minutes of flight, plenty of power to gradually climb, and it flies very slowly. A brisk walking speed will keep up with it.
Handling characteristics were very good, overall a stable plane. Just remember to use throttle to control altitude, not elevator. Also, you must land under a gradual decrease of power... no gliding it in. To be honest, it's much easier to fly in an average sized gym than my IFO or just about any other indoor flyer.
|
CONCLUSION
Final all-up-flying-weight of my Demoiselle was:
6.45 ounces for the plane with all hardware & motor
2.0 ounces for the "Qualcom" Lithium Battery
.75 ounces for the pilot
9.2 total ounces in the air
|
 |
|
|
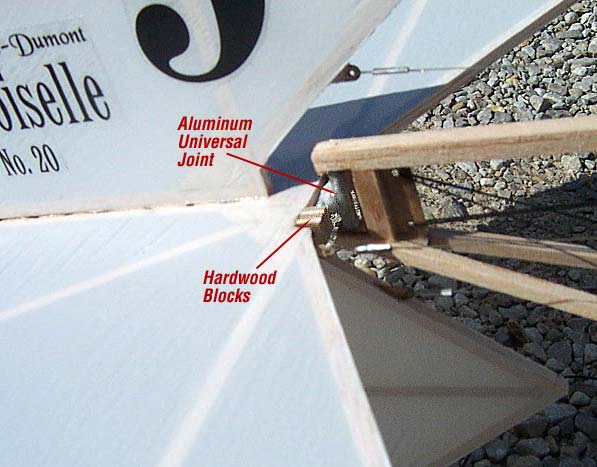
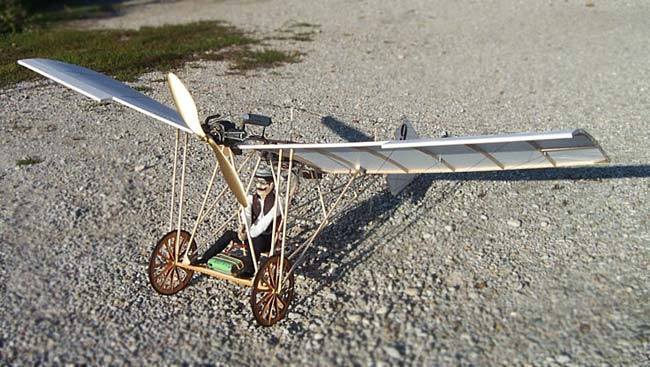
The plane is definitely not a windy-day-flyer... just dead calm days and indoors. Flying speed is extremely slow with the 7:1 geared DX-B drive and will float along like a spunky blimp if you can get it off the ground. You must keep this plane under power at all times, it will not glide with the motor off. This means landings must be done under power with a shallow angle of attack. As you could imagine of any plane with a 44" wing span and under 10 ounces, it's quite fragile, but with good piloting skills, careful landings and special care in transporting, it's no big issue. Be extra careful handling this plane, a "bumped" wing is usually a broken wing!
I would reccommend the SIG 1909 Demoiselle to anyone that appreciates the history of flight, scale detailing, and a lot of patience when it comes to a tedious building challenge. This kit is definitely not for beginners but should not be too much for intermediate level builders & flyers. To be honest with you, it is worth building the kit even if you don't put any hardware in it and never fly it... it's just that pretty hanging from my ceiling, and is a real piece of history!
Tom Pierce
1/03
NEW IN-FLIGHT VIDEO!
Here's a 3.2MB video clip (MPG) of the Demoiselle's first flight. I've gotten much better at flying her now though. It's flying much slower than it looks in the clip... it's the zoomed in panning of the camera that makes it look like it's moving fast.

 ORIGINAL PLANE SPECIFICATIONS:
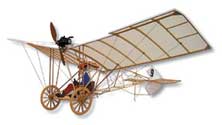 PUBLISHED KIT SPECIFICATIONS: