
|
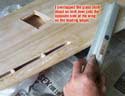
Before actually glassing the wing, I applied 2 coats of the Deft Lacquer Sanding Sealer to the entire wing, without sanding between coats. This stuff dries very fast, about 3-5 minutes, so it goes quick. It seals the balsa from any moisture in the waterbased poly to follow and makes it sand smoother.
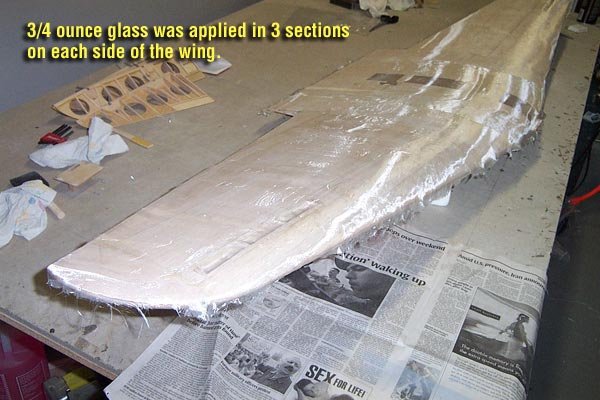
After about an hour, I sanded it smooth. Next, I applied the 3/4 ounce fiberglass cloth over one entire side of the wing, but did it in 3 sections. I made sure that the cloth crossed a good 6 to 8 inches over the dihedral joint for strength. I overlapped the outboard sections with the center section about 2 inches.
|
Technique Tip!
Initially I tried using 3M SprayMount adhesive to hold the cloth in place while applying the poly, but this proved to cause more trouble than help. It made it very hard to work out the wrinkles in the cloth that inevitably arise. I abandoned the 3M adhesive technique when I did the fuse and had much less trouble with wrinkles.
|
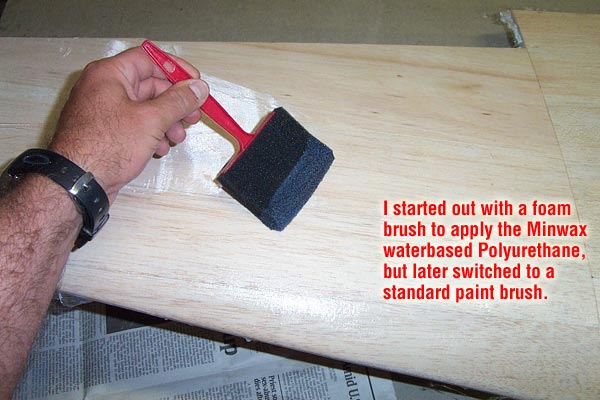
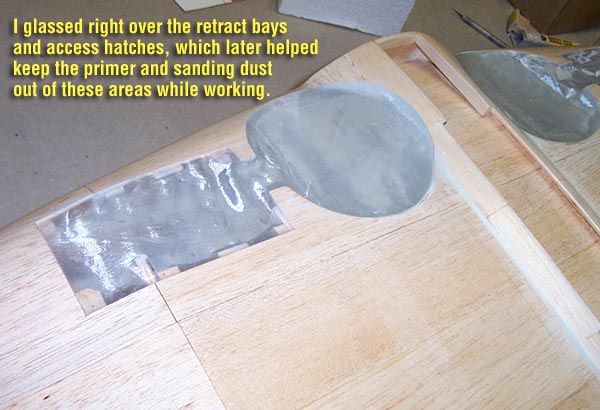
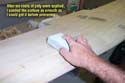
When applying the cloth, I glassed right over all access & servo hatches so that I would be getting them glassed at the same time, and I could make sure to have good level & flush hatch surfaces. I also glassed over the open retract bays and other open holes, which helps keep the primer and sanding dust out of the wing for a while. With the cloth good and flat on the entire surface, I applied my first coat of Minwax Waterbased PolyCrylic. I started out using a foam brush, but switched to a good quality waterbased paint brush after the 3rd coat.
Note that I let the cloth run about an inch or so off the edges of the wing, and let it overlap onto the opposite side of the wing at the leading edges only. After about 1/2 hour, I gave it a second coat. Another 1/2 hour or so later, I was able to cut the excess cloth off around the edges by sanding the edges lightly with a coarse sanding block... the excess just falls away.
Then I was able to flip the wing over and repeat this process for the opposite side of the wing. Again, overlapping the leading edge cloth onto the opposite side about an inch, and letting the rest hang over the edge about an inch around the wing. Overlapping at the leading edge gives you double thickness of glass cloth at the most "hangar rash" prone part of the plane.
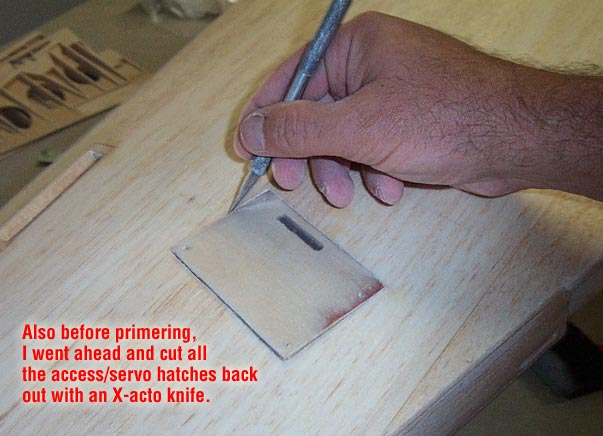
The WB poly dries in about 15 to 20 minutes, but you don't want to sand it for a good hour or so. It goes on very thin and most of it evaporates (moisture content), so it takes a good 5 or 6 coats to properly fill the weave in my opinion. Especially since I sand it in between each coat, starting after the second coat. I don't sand after the first coat because the cloth is to vulnerable with just one coat of poly on it. I know it seems like a lot of coats, but 6 coats ends up being paper thin when you sand it smooth. After the 6th coat is cured, I give it a good sanding to get it as smooth and level as possible, then begin primering. But, before primering, I go ahead and cut the ply access hatches back out with and X-acto knife, then put them in place for primering.
|
 Primer and Putty Primer and Putty
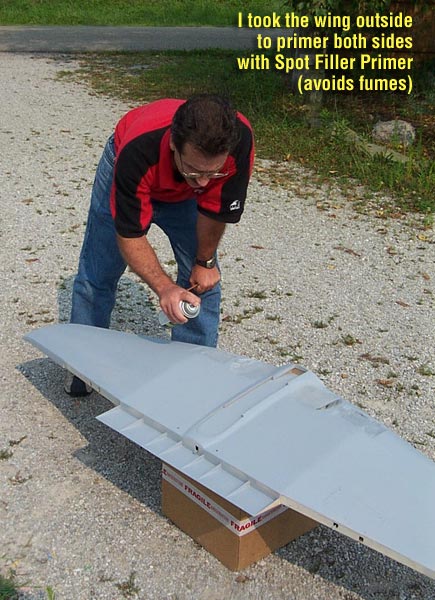
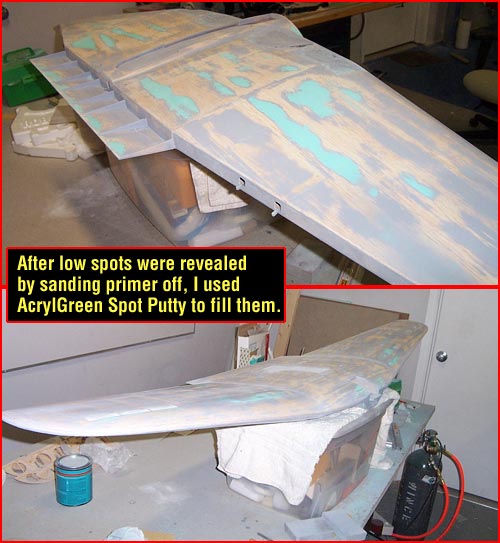
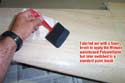
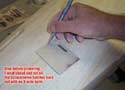
I use Plasti-Kote Spot Filler & Primer in a spray can to do my primering. It's a lacquer based, high build primer that goes on thick but light and really fills any weave left open. It also fills a lot of the very small/shallow low spots and dings too. Let it cure well for a few hours, then it can be sanded almost completely off. By the time I'm done sanding, about 60-70% of the primer is removed, but all imperfections and low spots are either filled... or revealed. If they need further filling, they get taken care of in the next step... spot putty.
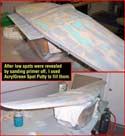 For this process, I used Acryl-Green Spot Putty which is a 1-part automotive spot putty that comes in a large tube (NAPA store). It comes in green or red, whichever you like. I apply it with plastic putty knifes, and it dries VERY fast, so work quick. It sands and feathers very easy, so it works great for this purpose. For this process, I used Acryl-Green Spot Putty which is a 1-part automotive spot putty that comes in a large tube (NAPA store). It comes in green or red, whichever you like. I apply it with plastic putty knifes, and it dries VERY fast, so work quick. It sands and feathers very easy, so it works great for this purpose.
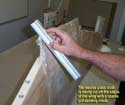
By repeatedly puttying and sanding, you eventually come up with a very level and smooth surface. Be patient, this takes a lot of elbow grease and a sharp eye to do it right. Do not put this type of putty on too thick, or it will not cure. With both sides completely finished, I moved on to a special step to better feather the wing into the fuse.
TOTAL WEIGHT GAIN TO GLASS, PRIMER AND PUTTY THE WING: ONLY 4+ OUNCES!
|

 |
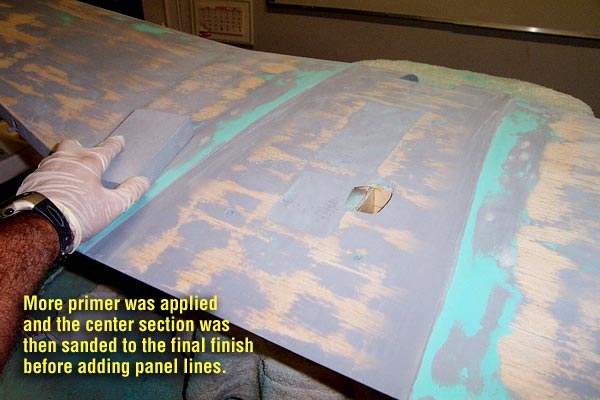
Blending into the Wing Fairing & Fuse
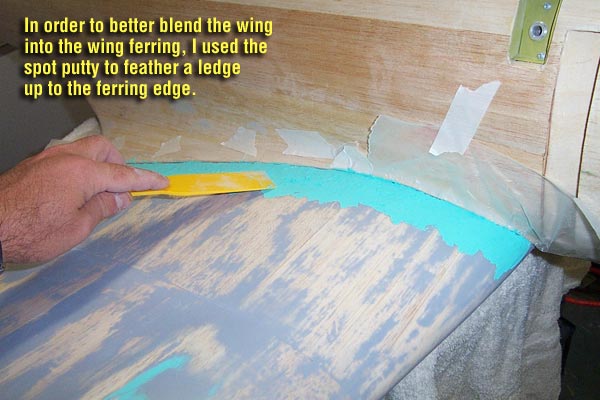
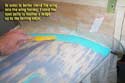
The wing fairing on the fuse feathers down to about a 1/16" or so edge, which is a little to abrubt and visible to me. So, I decided to feather "up to" the fairing from the wing just a tad to reduce the seam visibility a little.
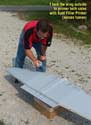
I began by taping some wax paper to the underside of the wing fairing and folded it back up onto the sides of the fuse. Then, I mounted the fuse onto the wing and began building thin layers of spot putty up to the edge of the fairing. The wax paper keeps the spot putty from adhering to the fairing. After I had built it up pretty level to the topside of the fairing edge, I removed the fuse and began sanding the spot putty build back down until it was flat, smooth, and feathered well onto the wing.
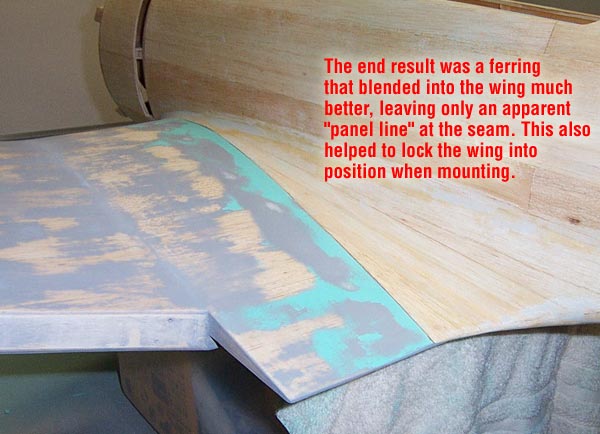
This ended up giving me almost 1/16" of "ledge" to meet the fairing. The fairing is just slightly taller at the seam than what the new feathered area is, making it look more like a scale overlapping panel joint. This also helps the wing to align and lock into place better when your mounting the wing onto the fuse.
ADDITIONAL WEIGHT GAIN: 3+ OUNCES
|