|
Oct 28, 2006
Wing fairing
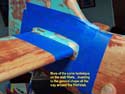
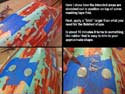
OK, finally ready to start adding some detail to the fuse. The first step I like to get out of the way is to add the raised panel lines that form the shapes of the wing fairing and stab fillets. I don't know why, I just like to do these before adding any other details.
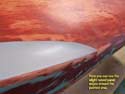
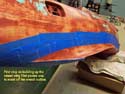
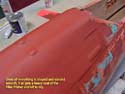
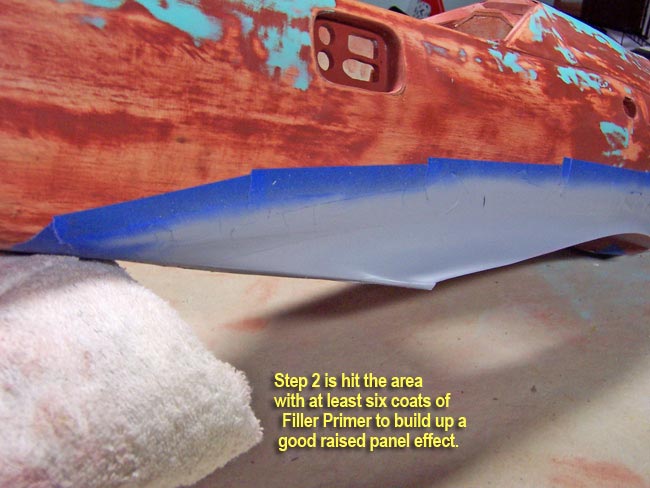
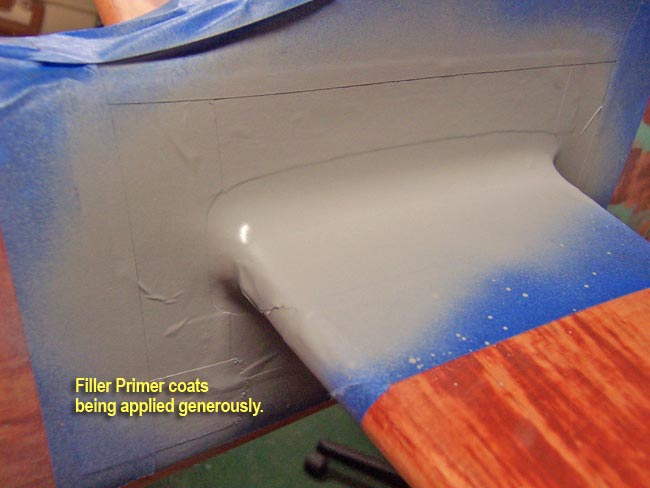
Let's start with the wing fairing. I use blue low-tack masking tape to mask off the perimeter of the wing fairing area on each side of the fuse. Next I get out the "Scratch Filler Primer" and begin shooting about six coats, focusing the coverage on the edges where the tape is. You don't need six coats on the entire fairing, just the edges, so that the paint builds up a ledge against the edges of the blue tape.
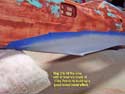
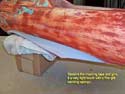
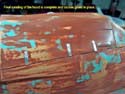
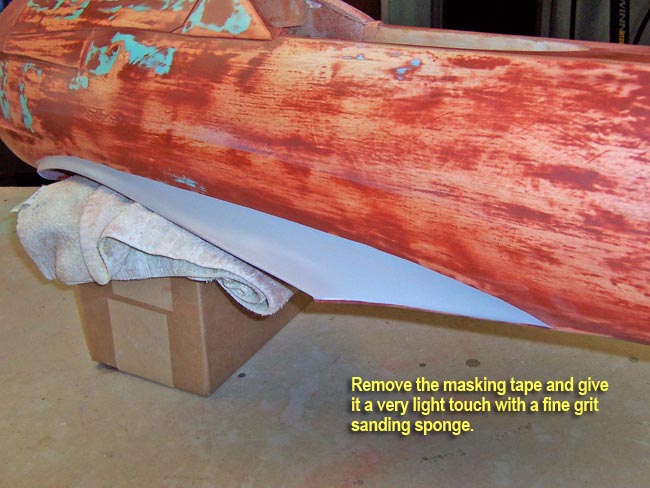
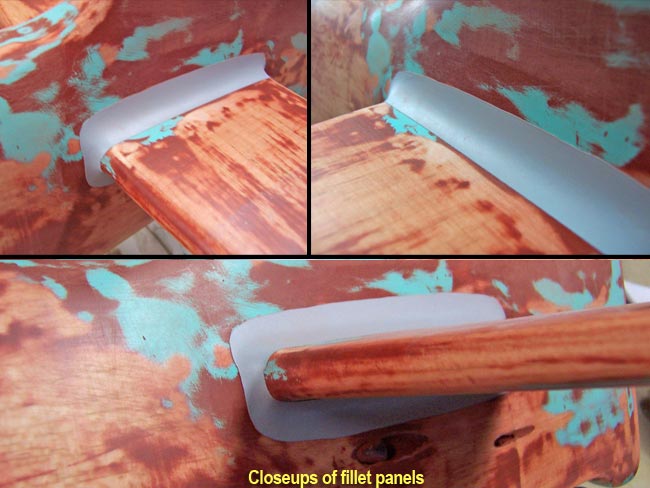
 Once this is good and dry (I usually wait overnight), you can lightly sand the area to smooth it out a little and nock the overlap of paint off where it meets the edges of the tape. Then, go ahead and pull the tape off and you're good to go. Once this is good and dry (I usually wait overnight), you can lightly sand the area to smooth it out a little and nock the overlap of paint off where it meets the edges of the tape. Then, go ahead and pull the tape off and you're good to go.
|
|

|
Stab fillets
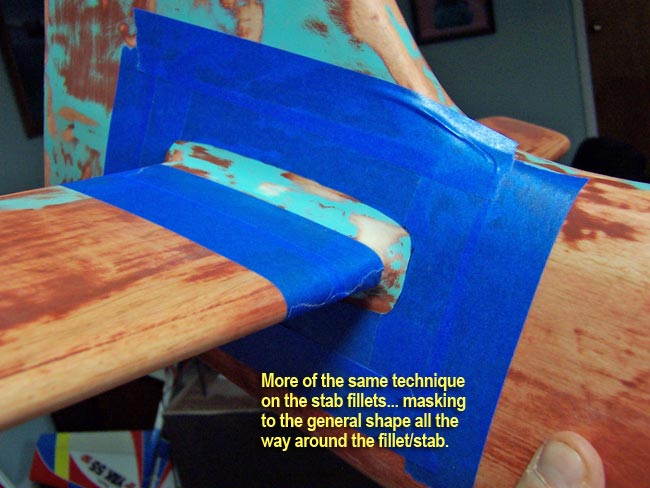
Now, on the stab fillets, I just do the same thing as on the wing fairing. Add masking tape around the perimeter, throw six coats of primer down, sand, remove tape and enjoy.
 It's important to note here that not just "any" primer is good for this step. The "Scratch Filler Primer" that I use is a fast-drying lacquer that is relatively light by comparison to other primers. More importantly, it is a "high-build" primer that goes down thick, but seems to be more "porous" in it's coverage. This lets it fill defects, remain light and sand very easily. It's important to note here that not just "any" primer is good for this step. The "Scratch Filler Primer" that I use is a fast-drying lacquer that is relatively light by comparison to other primers. More importantly, it is a "high-build" primer that goes down thick, but seems to be more "porous" in it's coverage. This lets it fill defects, remain light and sand very easily.
Later, after doing the rest of the panel lines on the plane, I'll go back in and add the various screw and/or rivet detail as required. But for now, I'll move on to the antenna mast at the top of the vertical fin...
|
|
Fin antenna mast
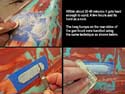
The scale 190 radio antenna ran from the top of the canopy back to the top of the vertical fin like most planes. At the top of the vertical fin, I would need a mast that was basically a molded extension mast that feathered into the fin itself.
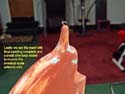
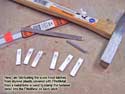
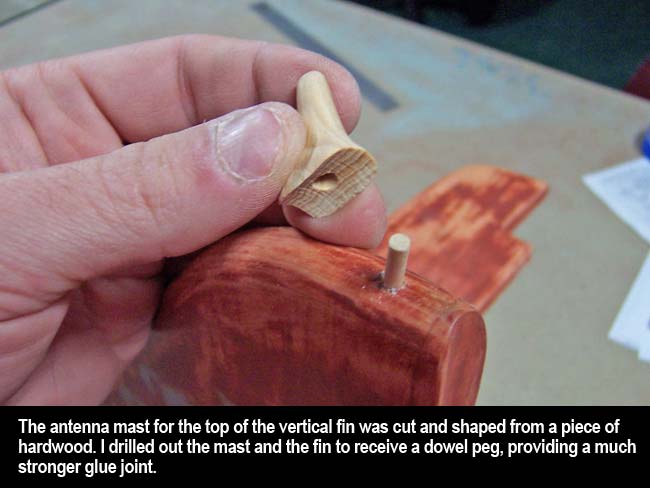
To begin, I cut the rough outline of the mast from a piece of hardwood. Then I shaped it down a bit with a bench grinder and Dremel. Finally, I used sandpaper to hand sand a good finished contour to it.
Next, I drilled a hole in the bottom of the mast and top of the fin. These holes would receive a dowel peg that would allow me to "pin" the mast to the fin when gluing it in place. This adds a lot of strength to an otherwise very fragile detail.
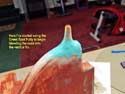
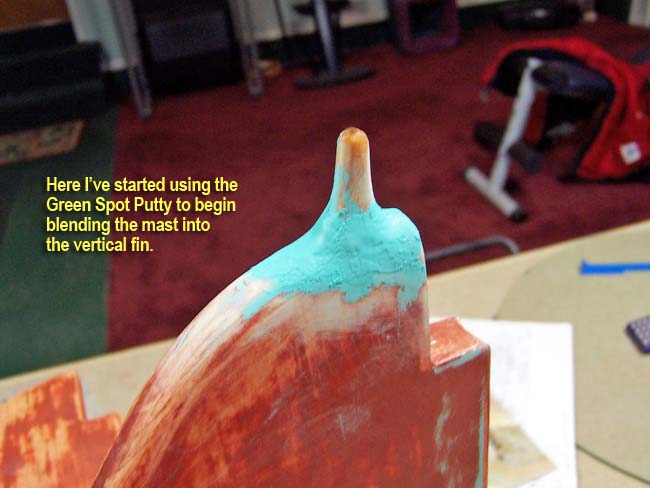
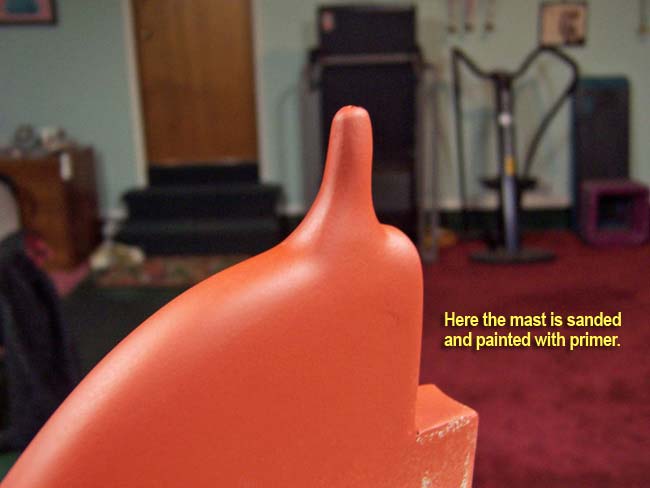
 Once it was glued in place, I began adding AcrylGreen Spot Putty to start feathering the shape into the lines of the vertical fin. After sanding and shooting Filler Primer, I sand again, add more putty and repeat until I get a good smooth blend from the mast into the fin. Once it was glued in place, I began adding AcrylGreen Spot Putty to start feathering the shape into the lines of the vertical fin. After sanding and shooting Filler Primer, I sand again, add more putty and repeat until I get a good smooth blend from the mast into the fin.
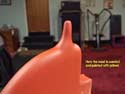
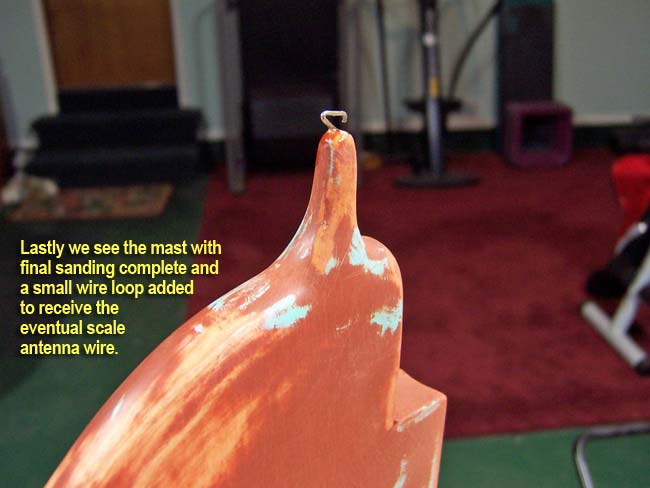
Lastly I add a "T-pin" to insert into the top of the mast, which gives me something strong to attach the scale antenna to later. With the tail done, it's time to move up to the nose and work on the gun hood some more.
|

|
|
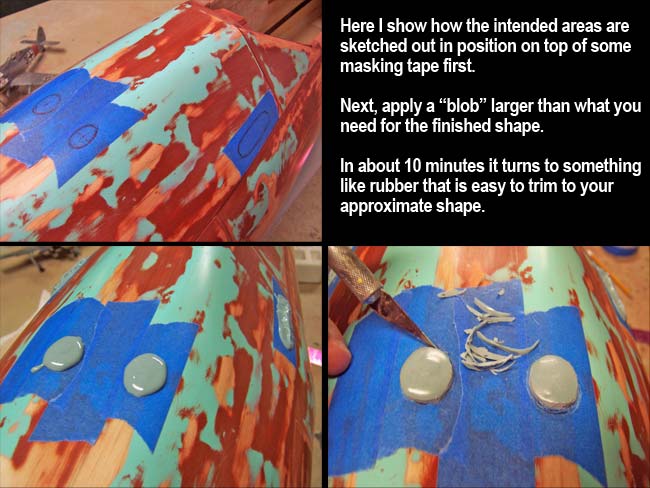
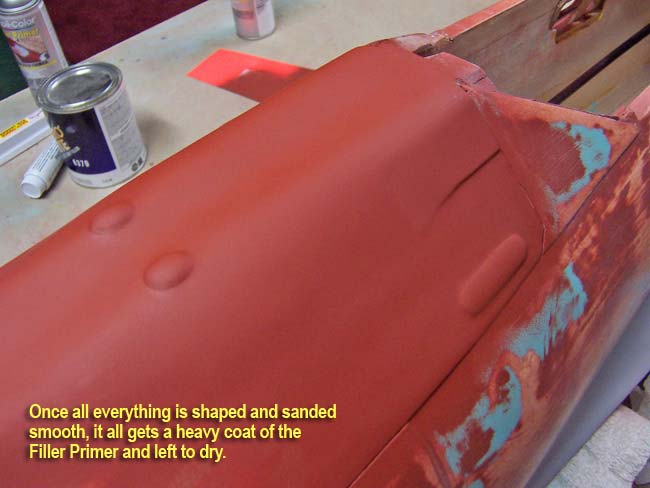
Gun hood "lumps & bumps"
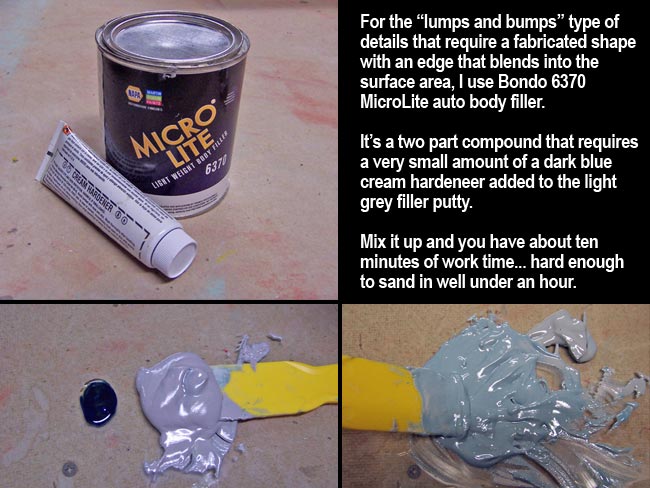
 To begin adding more of the surface details to the gun hood, I start by working on the various "lumps & bumps" (as Dave Platt calls them) that are key to the lines of the 190 nose. To do this, I use Bondo MicroLite body filler. It's relatively light (as body putty goes), is very easy to work with and cures up very hard. To begin adding more of the surface details to the gun hood, I start by working on the various "lumps & bumps" (as Dave Platt calls them) that are key to the lines of the 190 nose. To do this, I use Bondo MicroLite body filler. It's relatively light (as body putty goes), is very easy to work with and cures up very hard.
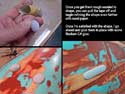
This putty is a two part mix of a thick gray putty (from a can) and a thin dark blue cream (from a tube) that gives you a working time of about 8-10 minutes max. Once I mix up as mall batch, I start applying small gobs of it in the required areas. These areas are covered first with a piece of masking tape that has the detail area outlined with a pen on it. Just get the rough shape and size in place, and be sure to make it bigger than what you will need.
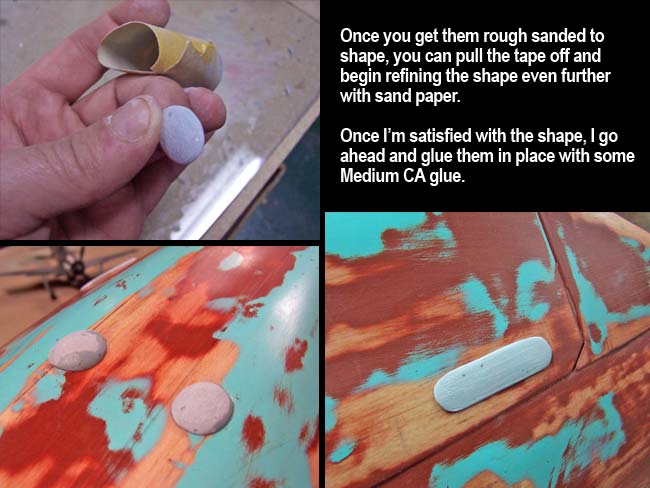
In a about 8 minutes or so it will start to "gel" to a soft rubbery blob. At that time, it's very easy to take a hobby knife and start trimming/whittling it down closer to the intended shape. In another 20 minutes it will start getting to hard to trim. That's when I pull the tape up and remove the putty from the tape. Within another 20 minutes or so it's getting hard enough to sand to the final shape.
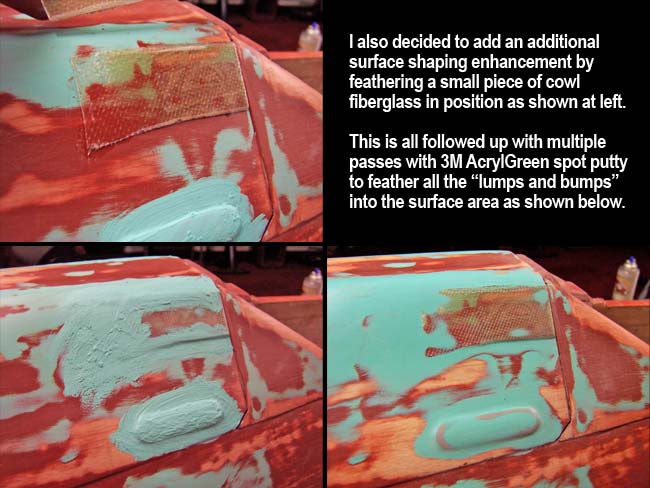
I then use Medium CA to glue them in position on the gun hood and let it harden a while more. Now you can get out your Green Spot Putty and start blending the lumps into the surface of the hood. This is followed by the repeated process of sand, primer, putty, sand, etc., until the shapes are correct and the blend is a nice smooth feather.
 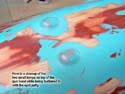 
When working on this area, I noticed a vent detail at the top rear edge of the gun hood, which I had missed earlier when building up the balsa hood. I decided to go ahead and try to add a facsimile shape to the hood by cutting up a piece of fiberglass scrap from the cowl, gluing it in position and using the putty to blend/feather it in. It's not exactly scale accurate, but close enough for the intended look.
|
|
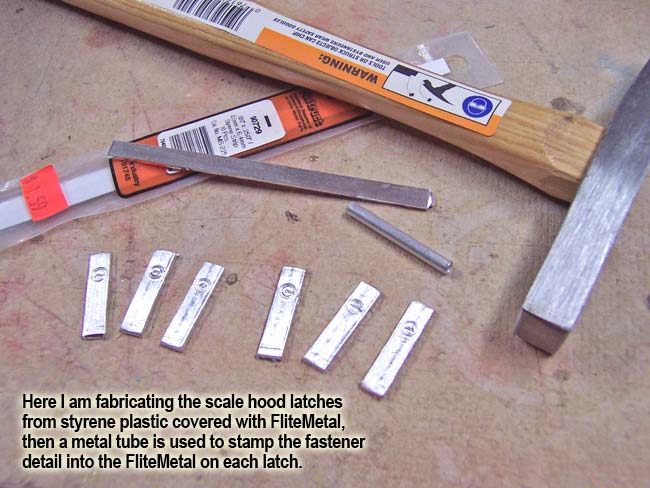
Gun hood latches
Last item for this section is the addition of the six lever latches that fasten the gun hood down in place on the real plane. I fashioned them from white styrene, then covered them with FliteMetal. Next I used a brass tube to stamp the circular relief of a fastener head into the FliteMetal.
I cut out six notches in the bottom edges of the gun hood so that I could recess the latches in place as per the full-scale design. Once glued in place, the hood is done for now. There are a few more minor details to be added, but that will wait until I have shot the center panel line on top of the hood. |
|
|
|
|

"wing details - pt1 "
|
|


