|
30 Cal Ammo Belts & Gun Installation
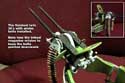
As I mentioned earlier, my plan is to have my ammo belt infeed magazines removable. Now I'll show you why...
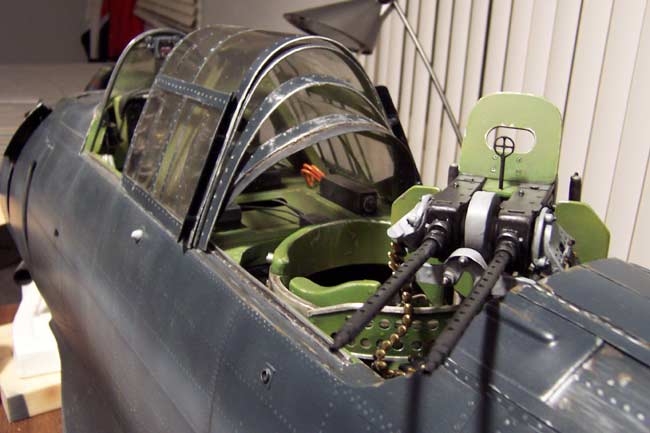
I decided to use the most realistic ammo belt I could come up with, primarily for static display. These belts would be too heavy to use in flight, especially that far back of the CG. So, after making my two ammo belts I was able to glue them to the infeeds, which in turn could rotate freely, and be removed from the guns for flight.
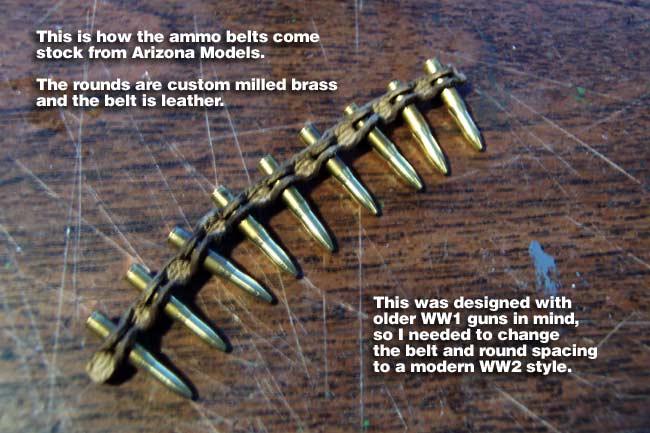
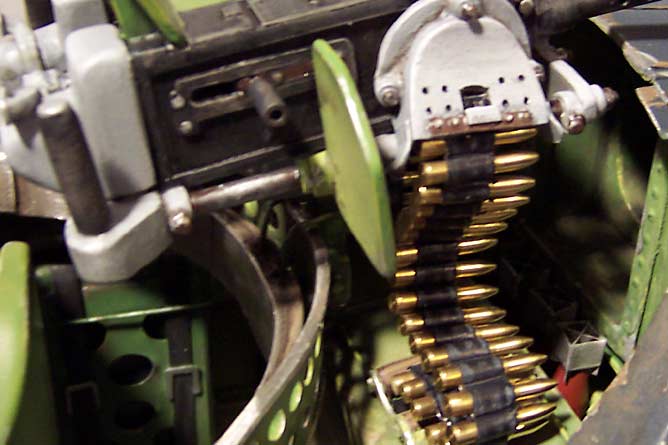
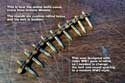 The ammunition I chose to use is made up of individual brass 30cal ammo rounds, replicated at the proper scale. This beautiful ammunition comes from a company called Arizona Model Aircrafters. Each round is milled from 1/8" solid brass rod and are very realistic, right down to the firing rims! They are actually designed to fit the older WWI "Vickers" style guns, and come with leather ammo belts that are spaced accordingly. The ammunition I chose to use is made up of individual brass 30cal ammo rounds, replicated at the proper scale. This beautiful ammunition comes from a company called Arizona Model Aircrafters. Each round is milled from 1/8" solid brass rod and are very realistic, right down to the firing rims! They are actually designed to fit the older WWI "Vickers" style guns, and come with leather ammo belts that are spaced accordingly.
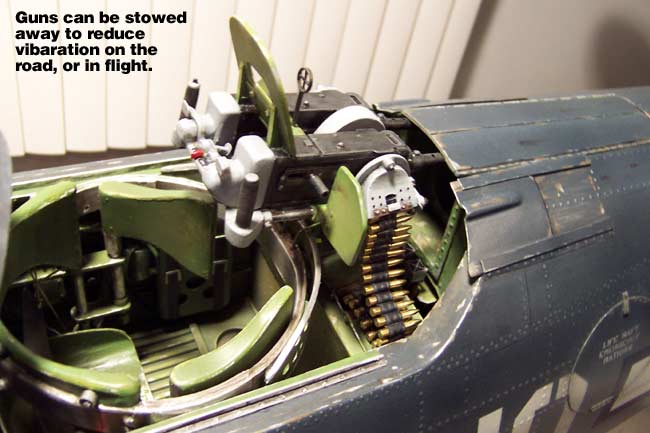
However for my more moder WWII twin 30 guns, I would need a different style belt and a more densely packed chain of ammo. The caveat here is weight. This much solid brass can be heavy, almost 2 ounces for two 20 round belts. That's why this is just a static display feature and will be removed for flights. I can always make a lower res / light weight version of the belts & infeeds for flight if I want to later.
Note that I wouldn't be concerned with weight if using the stock spacing, had only one belt vs two, or if the guns were foreward of the CG. It's the double-density belts, multiplied times two, all way back behind the CG that made me decide to go removable.

Belt Fabrication
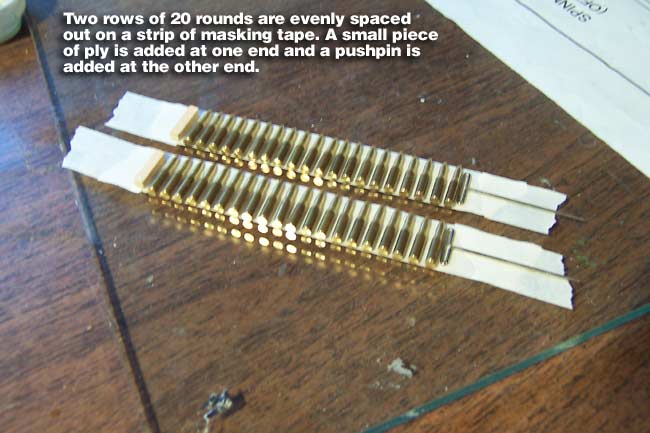
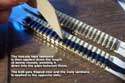
To fabricate new WWII style belts for my ammunition, I used a very simple and effective fabrication technique. I start by evenly spacing 20 rounds of ammo on each of two pieces of masking tape. I add a very small block of ply at one end and a "T" push-pin at the other.
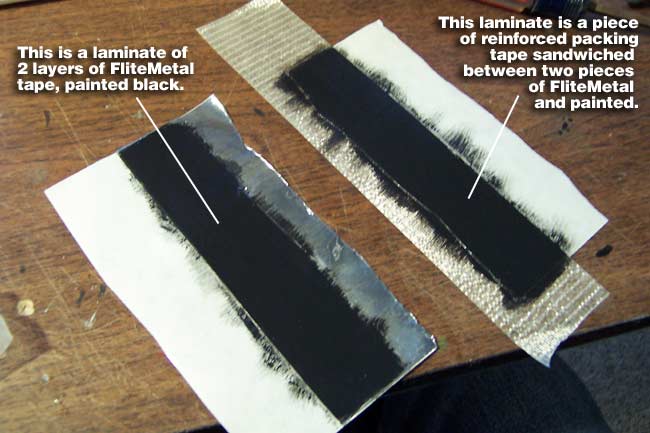
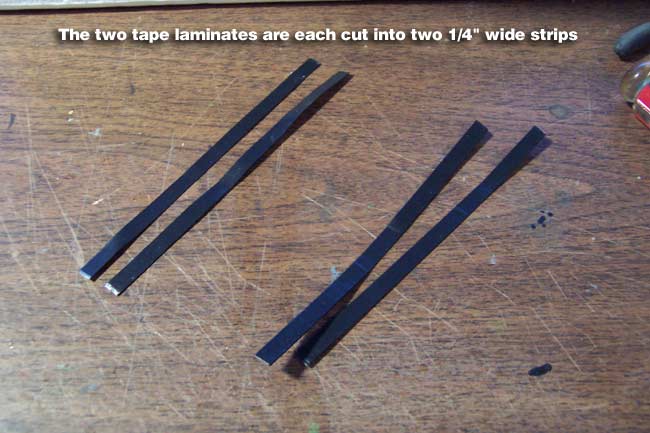
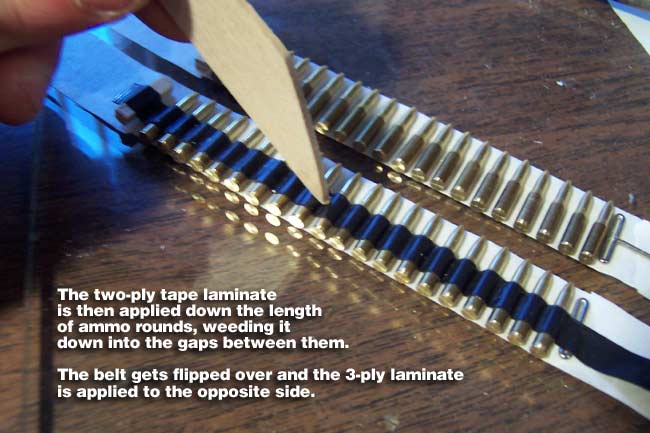
Next I make two tape laminates. One is just two pieces of FliteMetal tape (one on top the other for double thickness). The other is also two pieces of FM tape, but has a piece of reinforced packing tape sandwiched between the FM. Each of the two laminates get painted black and each gets cut into two 1/4" strips.
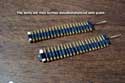
Next you start at one end of a belt with the 2-ply tape laminate and weed it down into the gaps between the rounds. When one side is done, remove it from the masking tape, flip it and repeat on the opposite side, only with the 3-ply reinforced laminate this time.
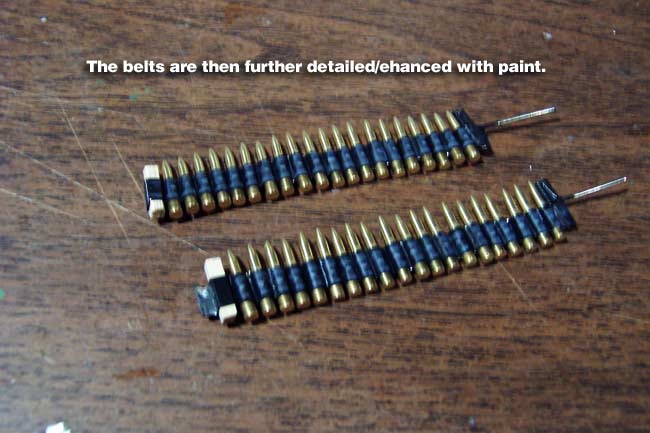
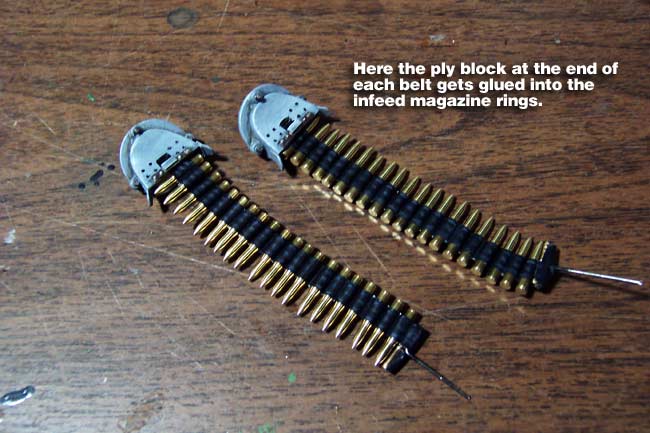
With both belts affixed on both sides, you can "scrunch the rounds" closer together if you like to make an even tighter belt spacing. Next I do some final paint detailing and enhancement to the belts, then glue the plywood block end into the infeed magazines.
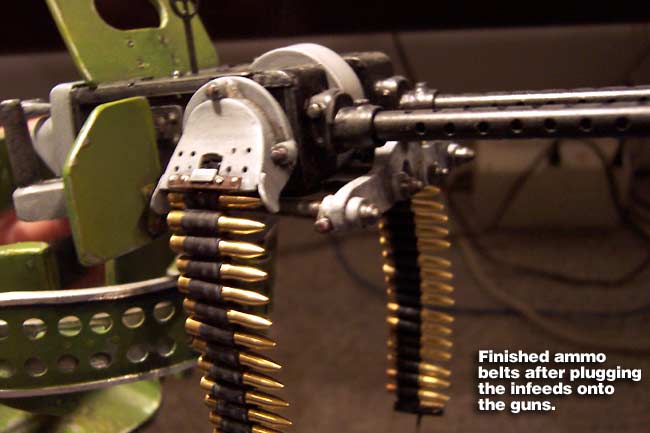
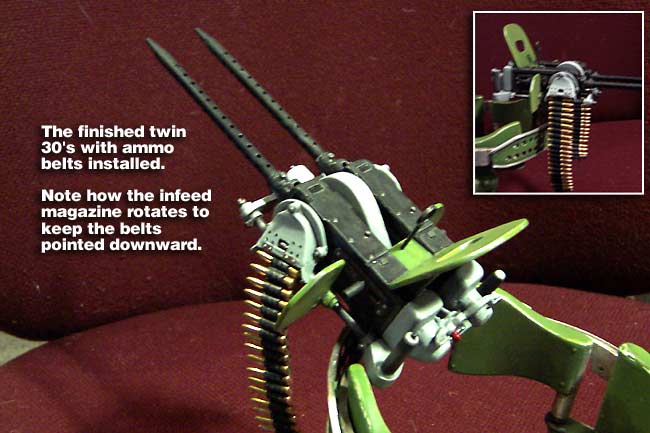
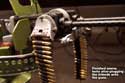
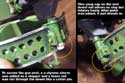
The Rare Earth Magnets in the infeed rings and the guns now allow me to mount the two belts to the guns, and remove the infeeds and heavy belts for flight. They also permit rotation of the infeeds to follow the guns and keep the belts always pointing down to the ammo box. The finished belts are quite flexible and allow free rotation and tilting of the guns as well.
|
 |
 |
 |
 |
 |
 |
|
|
Installation
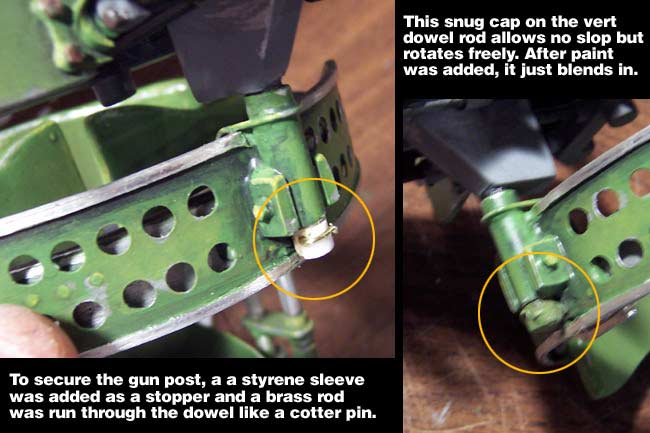
To install the guns with belts onto the gunner ring, I added a styrene tube cap/stopper at the end of the main gun vertical dowel rod. Then I also ran a brass rod through a hole in the bottom of the dowel. This gave me a pretty solid plug that allows the guns to rotate but not come up out of the ring. It's a perfect fit with no slop at all.
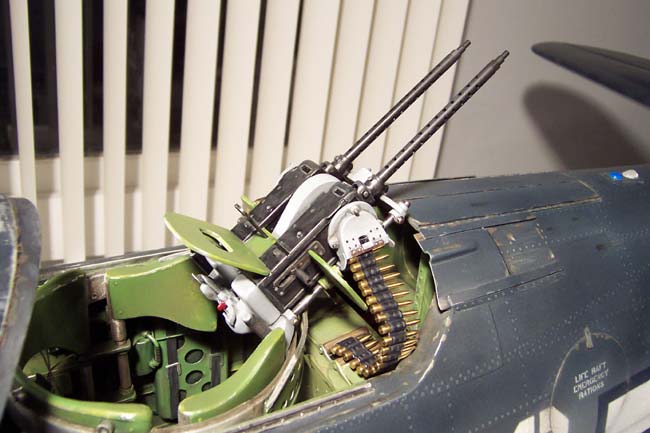
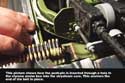
Next, the "T" push pins on the bottom of the gun belts gets pushed through the styrene skin of the ammo box and into its styrofoam core.
|
 |
 |
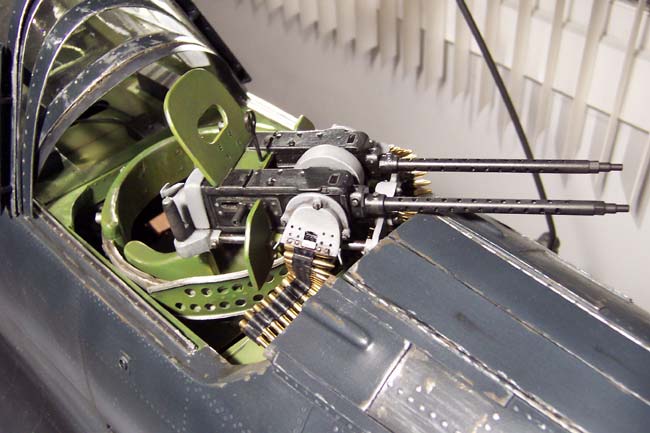
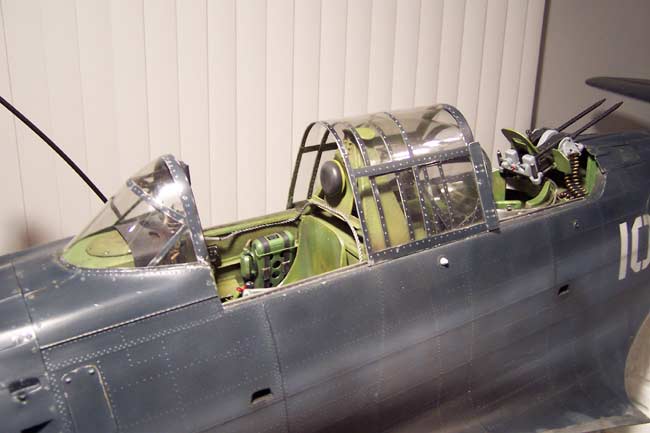
Interior is now completely finished!!
That's it... With the completion of the twin 30 guns, the entire interior of my SBD is now finished. The only thing left do in "Jig Dog's Office" is to finish up the two crew members. But, that's another story, so stay tuned for that one too!

"Bringing the Crew to Life"
|