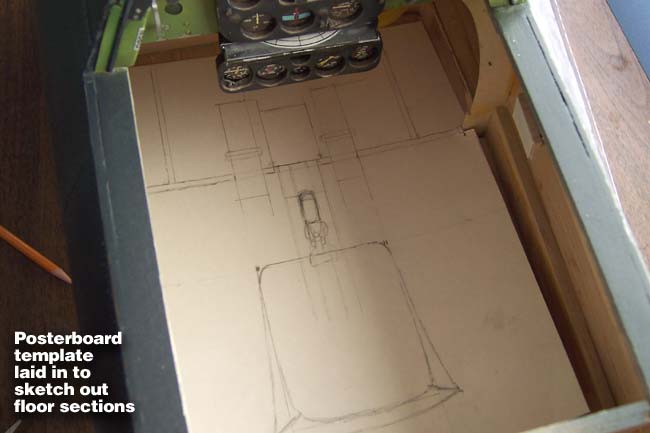
To get the proper shape and dimensions for my floor sections, I started out by cutting a piece of posterboard to size and laid it down inside the cockpit. Referring to my photo docs of the fullscale plane, I began sketching out the primary structures that I knew I wanted to include on the cockpit floor. Then I was able to plan out my attack and determine how I wanted to break the area up into sections.
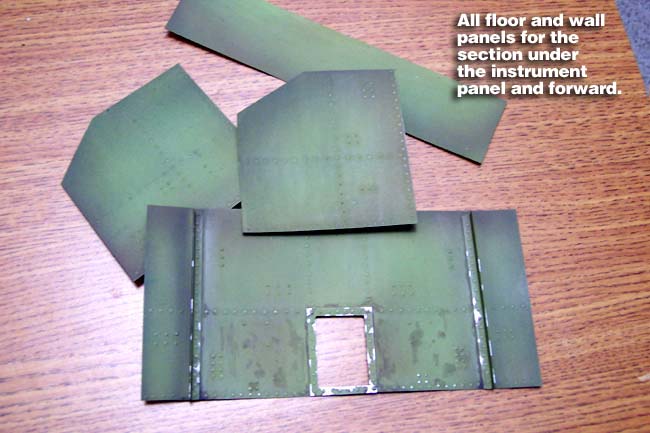
After figuring out my sections, it was pretty straightforward transferring the section shapes and dimensions from my posterboard template to styrene. I was then able to detail each section, paint it and weather it completely outside of the plane... much easier than trying to do it inside the fuse. Also, the individual sections make it possible to slide the floor through the opening of the cockpit, which would otherwise be very difficult or impossible with a one-piece floor.
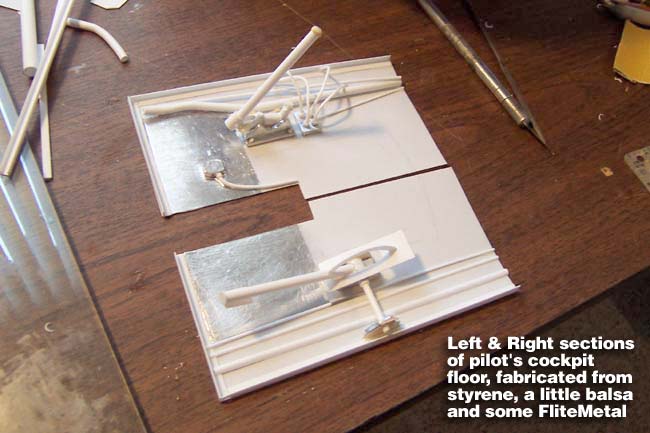
I continued to fabricate all major details of the floor, but didn't spend a lot of time on areas that I knew would later be covered up by the pilot's seat, sidewall structures, etc.. I covered some areas with FliteMetal if I knew I would want to simulate paint worn down to bare metal (like where the pilot's feet rub the floor and rudder pedals).
I probably went a little overboard on some of these details, and only time will tell how they'll hold up to engine vibration. However I really enjoy this part and if some of it "rattles loose" down the road, I'll deal with it then. I did make an effort to really glue the larger details in place and support them as much as possible.
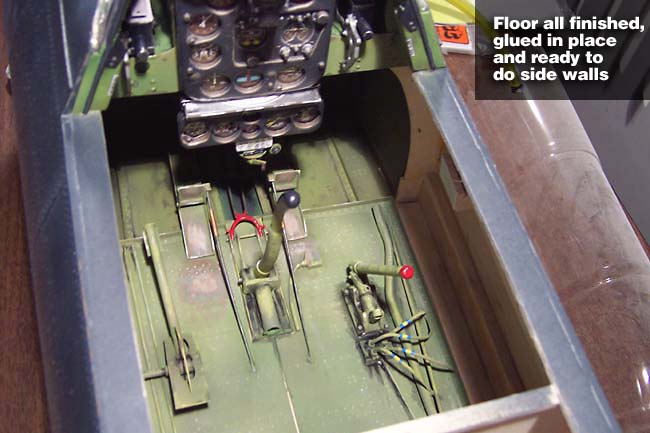
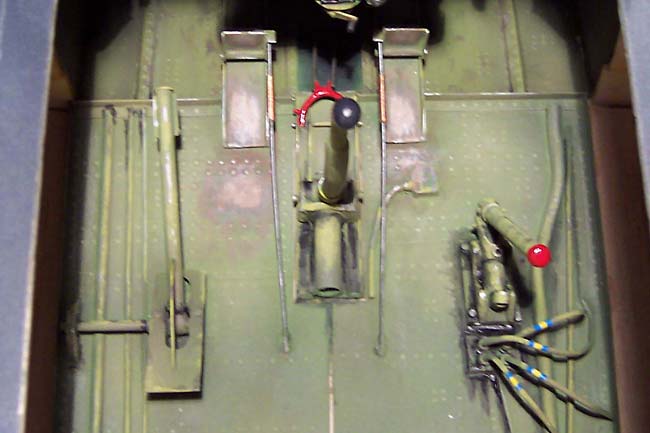
With the floor sections all done, I glued them onto the balsa fuse floor inside the cockpit. I used RC56 Canopy Glue over the entire floor undersides and used Medium CA on the corners to lock it in place while the Canopy Glue dries. I think the Canopy Glue will be a little more flexible to vibration, and sticks very well to styrene.
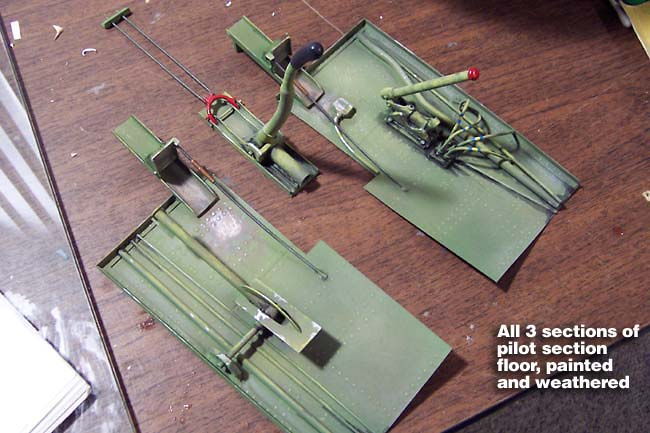
Here are some pics of the finished floor. You can see some pretty intricate details here, including scale rudder pedals, manual hydraulic pump, flight yoke, worn paint, etc. I actually made the flight yoke so that it can pivot forward to allow move it out of the way and access areas of the cockpit more easily. This will really help as I work on the seat and mounting the pilot. It doesn't rotate on all axis, just the X axis.