 Landing Attitude Lights Landing Attitude Lights
This light was used by the LSO on the carrier to determine the attitude of the plane as it was coming in on final landing approach.
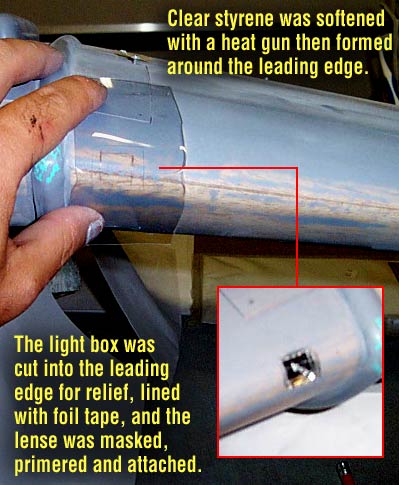
I made it by cutting a square recession into the leading edge of the wing (yes, scary again) about 1/8" deep. I hardened it with thin CA, then added the foil tape for the reflective surface.
I then cut a piece of clear styrene, heated it with a heat gun, then quickly pulled it across the leading edge of the wing while still soft. When it cooled, it held the contour of the leading edge.
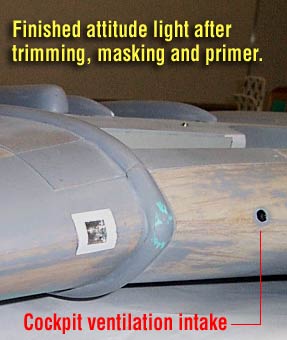
I cut it down to a size about 1/8" larger than the square hole, and masked off the area of just the clear light portion. Afer primering, it gave you a simulated "frame panel" around the light. This was glued over the square hole for the finished light assembly.
|

 "Here's looking at you!"

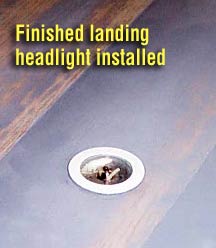 Landing Lights