Weathering & Distressing
| Everyone has a different take on just how much weathering and distressing is right for RC warbirds, and to be honest, no answer is "correct" for all planes. Some are restorations, nice and shiny, while others are models of historical aircraft that have seen varying levels of both nature's elements and man's battlescars. Add to that, the length of time the aircraft had been in the field, whether it was land-based or on a carrier at sea, and how much "action" it had seen... you get a wide range of possibilities.
My personal taste is for planes that have a decent amount of weathering, since it tends to make the plane look more like a fullscale bird instead of a model. Also, the historical battle history of the plane is part of what draws me to it, so I don't care a whole lot for restorations. There's nothing wrong with modelling restorations, it actually gives you a better chance of doing well in competition (more docs and photos available), but it's just not my cup of tea.
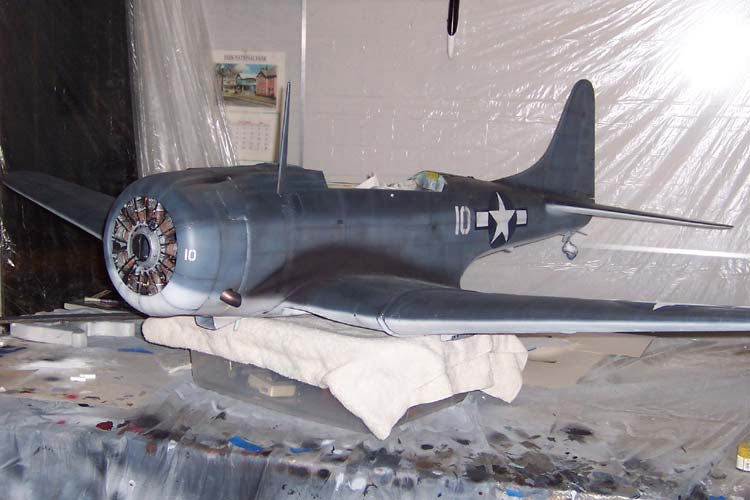
The main thing is, weather and distress your plane accordingly. Don't add dirt and scars to your plane if it's a restoration, and don't leave it showroom finish if it spent any time in battle. Here's the rundown on the weathering of my SBD, which saw a "whole buncha action" at the hands of James "Jig Dog" Ramage in WW2...
 Paints used Paints used
I used a variety of waterbased hobby acrylics to do the majority of my weathering. These were various brands, including Tamiya, Poly Scale and mostly Model Masters. The finish of your paint isn't that important, since you will ultimately clear over it anyway.
Waterbased acryls are low-tox, water cleanup and very mild on your airbrush. I don't use a lot of different colors, since I mix most of them "on the fly" to get the various shades I need. Some of the colors I used were Scale Black, Dirt, FS Blues, Ghost Grey, Flat Black & White, and Steel.
|
| Getting Started
I had already used various tones of my 3 base colors to "mottle" the shades of my color scheme back when I painted the airframe, which is really the beginning step of making your finish "weathered" and believable. Make sure you have some good reference photos handy so you can get a feel for what real-life weathering and distressing would look like on a warbird. And more specifically, get good photos of how your particular airframe weathered in the field.
|

 |
Getting your WindStreaking
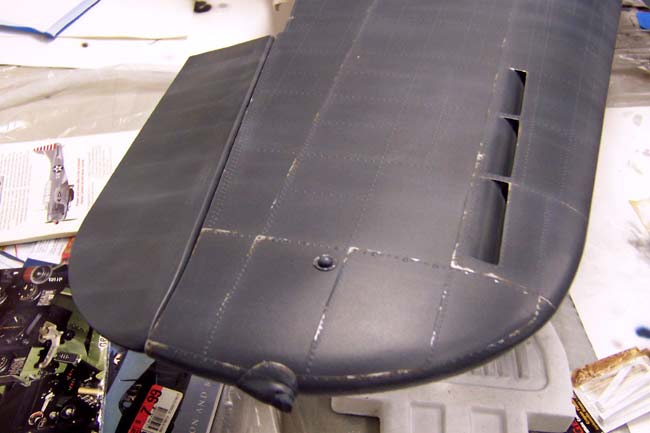
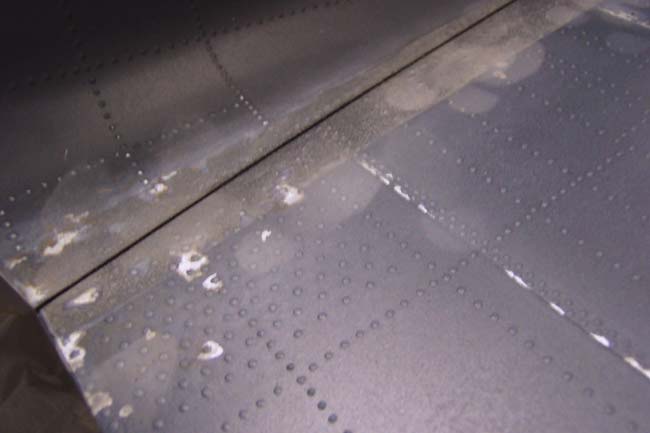
In order to get that "wind-streaked" look that is produced from hundreds of hours of weather beating across your wing surface in flight, you need to use a "wash technique." Dave Platt illustrates this very well in his "Black Art" video series using epoxy based paints. Most people will tell you that this can't be done with waterbased and/or latex based paints... wrong. You can do it, it's just a little trickier.
The method is basically the same, you need to get your wing wet with the appropriate thinner, which in my case was simply "water." Next you wash the wing in chord-wise strokes only, using an extremely thinned down light color. The way I did it was to fill my airbrush with water, add a few drops of Ghost Grey in it and get a damp paper towel folded into a small square shape.
Next I shot the damp towel with the airbrush to get it soaked with the "tinted water" and began wiping the plane from leading edge to trailing edge, moving from tip to root. Add more paint to the rag as needed, and be careful not to overdue this step, since it's harder to get the paint back off than put it on!
Unfortunately, I was reminded how paper towels begin disintegrating when wet and it started to leave white "lint" all over my wing, which dried quickly and stuck to it. Not to panic, I just took a 2" paint brush and "scrubbed" the wing with it, removing all the white lint without harming the paint. My advice is don't use a paper towel for this step, use a lint-free rag.
|
| Accenting panel lines
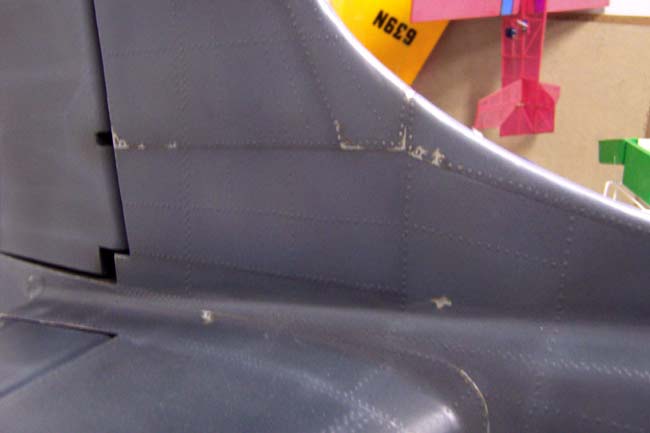
 If you want, you can do the streaking effect on the horizontal stab and fuse too, but I didn't. This effect is mostly noticeable on the wings of fullscale planes, not the fuse. Fuse streaks tend to run around the fuse vertically, being produced more on the ground instead of the air. If you want, you can do the streaking effect on the horizontal stab and fuse too, but I didn't. This effect is mostly noticeable on the wings of fullscale planes, not the fuse. Fuse streaks tend to run around the fuse vertically, being produced more on the ground instead of the air.
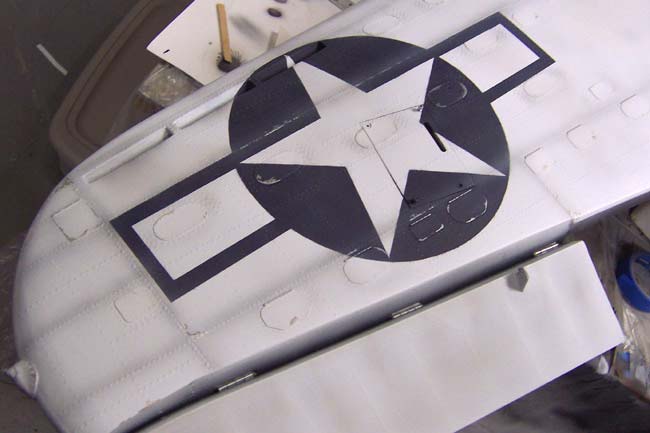
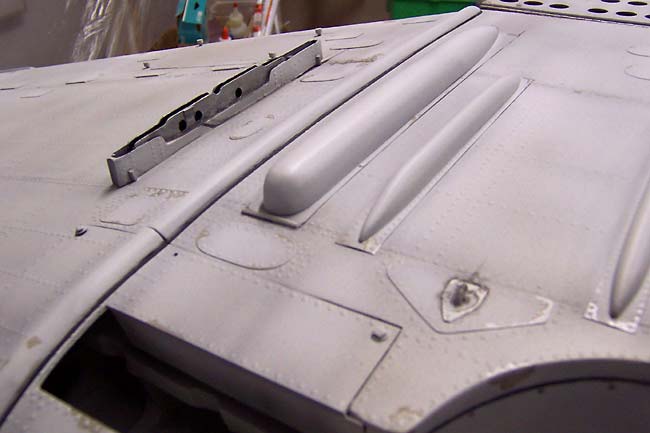
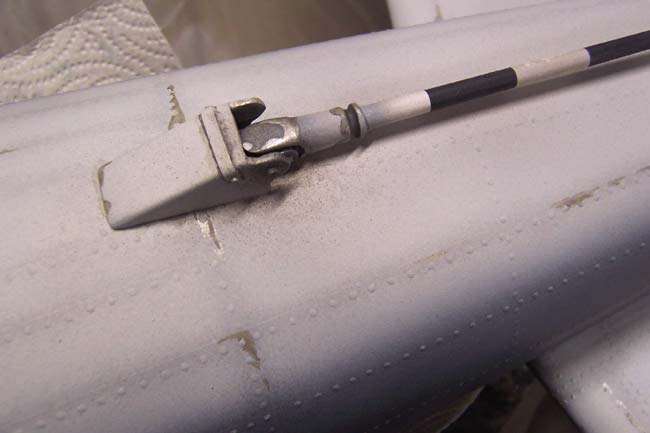
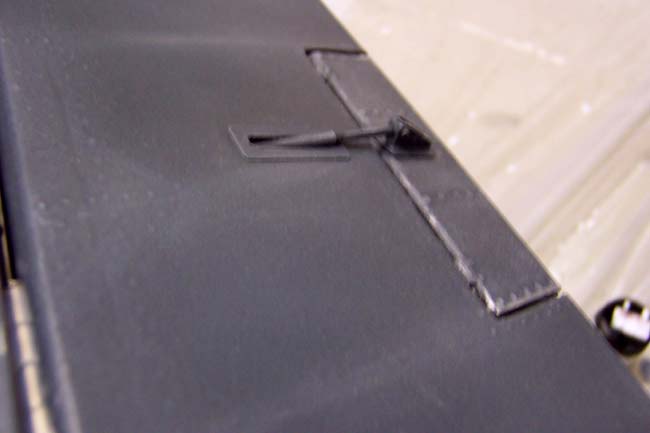
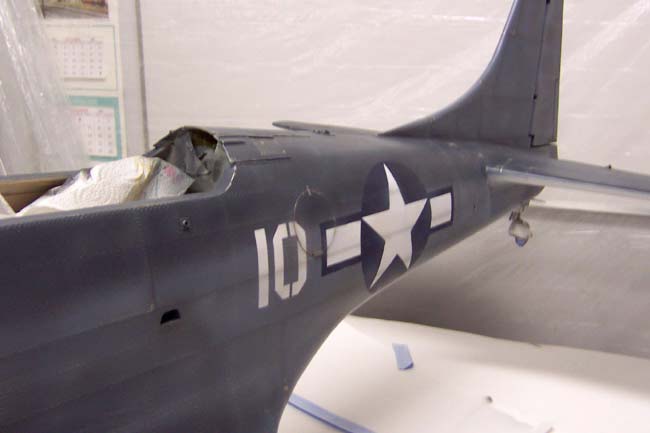
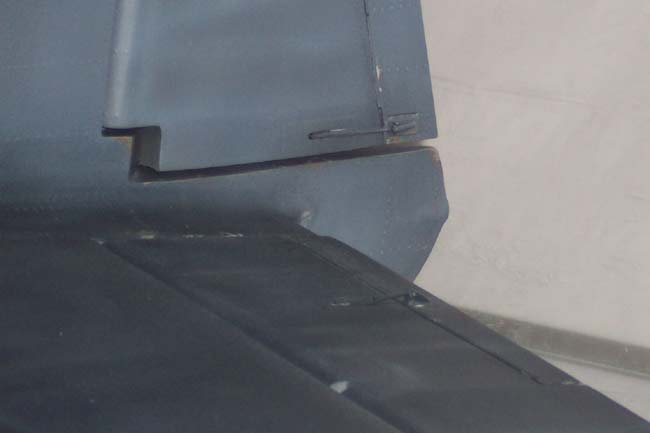
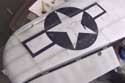
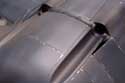
Now, I go in and accent my panel lines to help bring them out. They were inherently off-shade on fullscale planes since they collected dirt in their seams and they were occasionally handled around the edges when removed for repair.
I accent mine by going over them very lightly with an airbrush using Ghost Grey for the white underside panels. When moving to the Intermediate Blue sides, I mix a very thin grime-gray color to darken the panel lines. Moving to the topside Non-Specular Sea Blue, I mix a slightly lighter shade of dirty Sea Blue to lighten the panel lines. Don't overdo this, you just want to "hint" the lines.
Distressing the paint
 To begin distressing, I'll go around and discolor the plane in various tints of dirt, grime, sea salt residue, etc. with an airbrush using very thin mixes of acrylics. The nice thing about a gravity-feed, top-cup airbrush, is that you can actually mix and experiment with your paints in the cup "on the fly" like an artist's pallete. This allows you to get just the right viscocity, shade, etc. without having to dump and remix often as you weather. To begin distressing, I'll go around and discolor the plane in various tints of dirt, grime, sea salt residue, etc. with an airbrush using very thin mixes of acrylics. The nice thing about a gravity-feed, top-cup airbrush, is that you can actually mix and experiment with your paints in the cup "on the fly" like an artist's pallete. This allows you to get just the right viscocity, shade, etc. without having to dump and remix often as you weather.
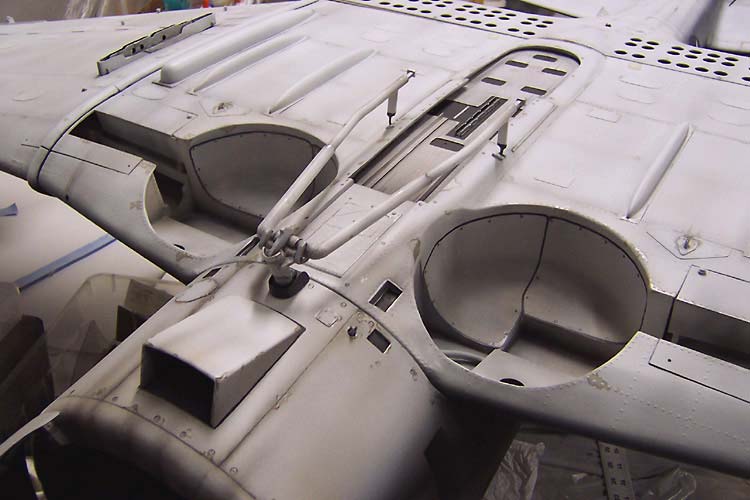
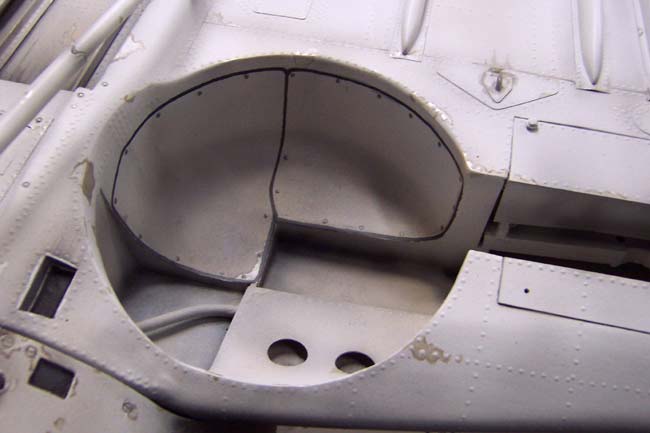
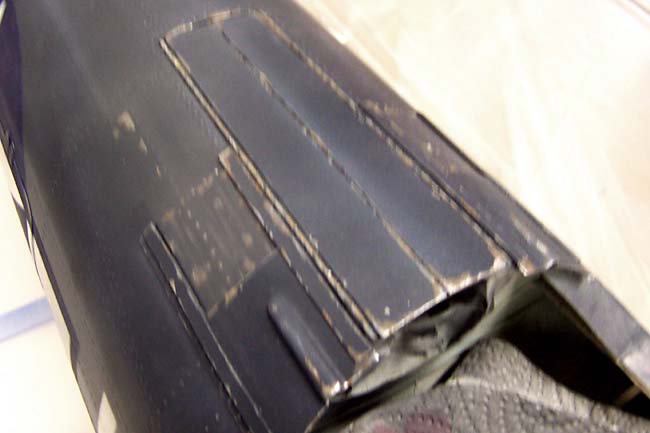
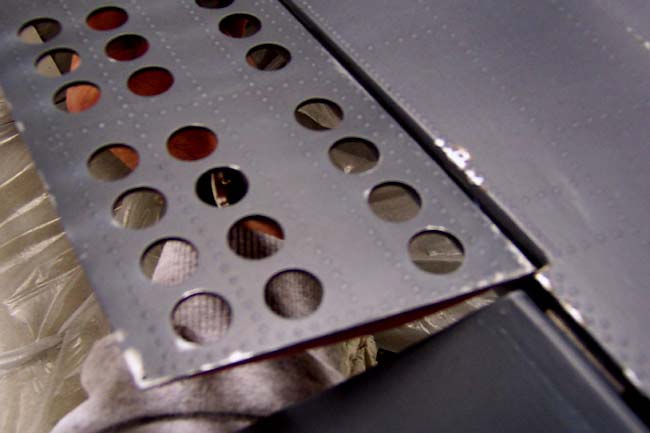
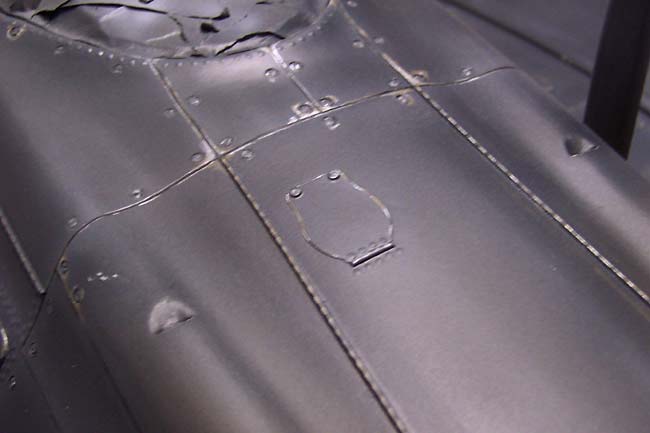
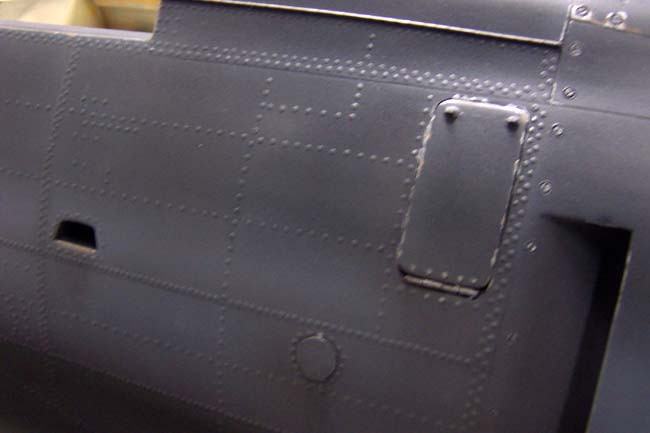
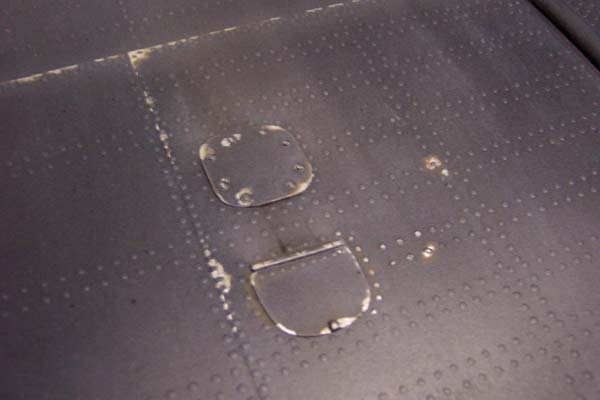
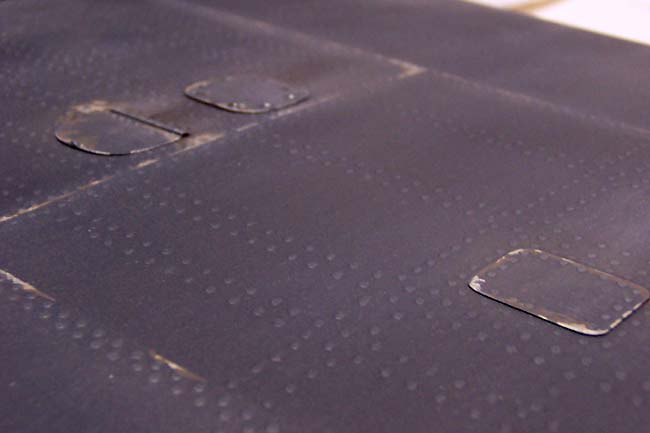
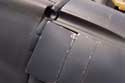
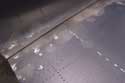
In order to simulate the chipping, peeling and overall distressing that paint exhibits after a good while in service, I used a simple technique. Some modelers will prefer to paint the plane silver before shooting color coats, then sand down to the silver in heavy wear areas. This is fine, but I seldom see that effect on fullscale ships. Most of the photos I have seen show that the paint discolors, chips and eventually peels off the surface in a variety of shapes and sizes. Usually you will find this to happen on the edges and corners of panels, and around rivets and screws.
To simulate this effect, I went around the edges of panels hitting random spots with a color called "Steel" to emulate peeling paint. Drybrushing strokes on the plane does not produce this effect. You must actually go in and paint each paint peel, in what would be a naturally occuring shape in which paint peels. This is very random in shape, size and distribution and as a rule, will peel "around" rivets leaving the paint on the rivet.
This painting up to and around rivets is probably the most effective technique in making the peeling look realistic. Occasionally you will also have large areas peel off on smooth surfaces that get wear, even if they aren't a panel edge. I also have noticed that for some reason the underside of the plane tends to peel a great deal more than the top and sides, especially in the areas of bomb release and gear bays.
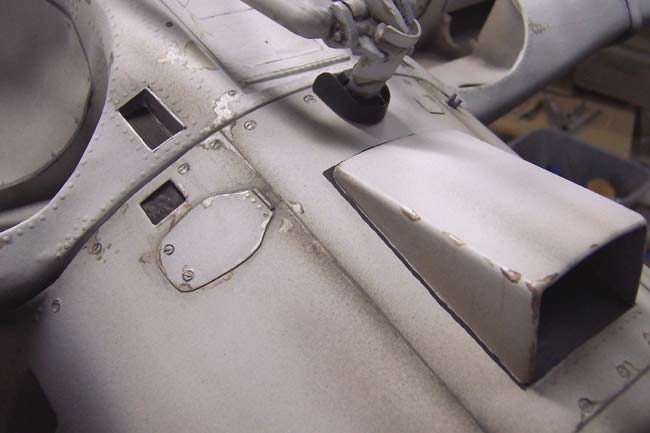
Lastly I go around the edges of each "peel/chip" and accent them with a combination of brown and gray colors to simulate a little primer, dirt, grime, oxidation, rust, etc. that collects on the edges of the paint peels.
|
|
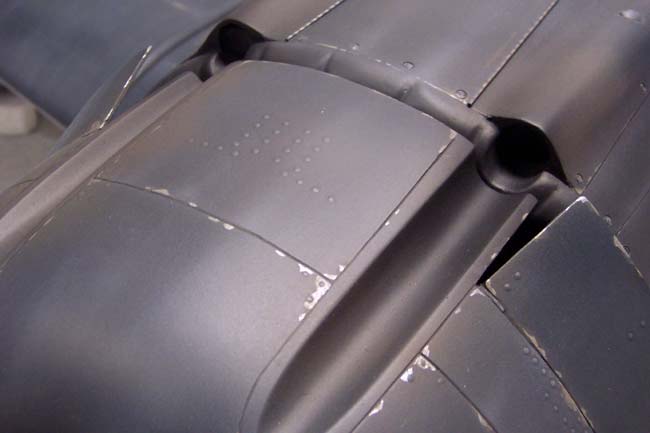
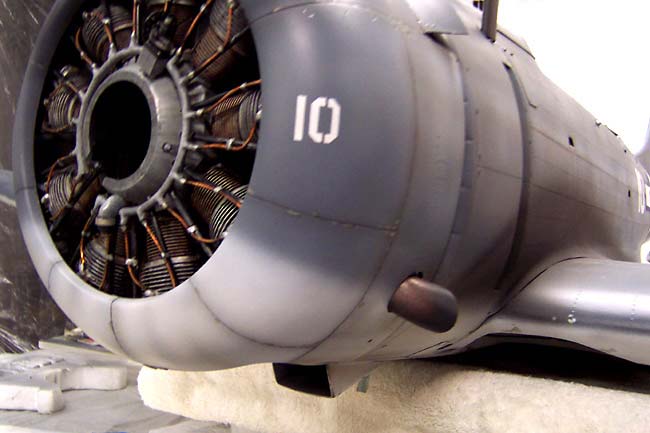
Oil, Smoke and Exhaust Stains
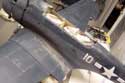
Of course no weathering job would be complete without oil, smoke and exhaust stains caused by the plane itself. For oil stains, I begin by airbrushing the streak with thin black, then go in and hand brush very thinned down black to produce the oil runs. I repeatedly apply this step to build up the density of the black run in the right areas.
The smoke stains produced by guns and exhaust stacks are produced by shooting a mix of black, brown and a touch of gray in the area fo the stain. The heat of the guns will discolor the paint around the muzzle to a goldish brown tint, which is done again with a very thin mixture.
The smoke buildup has more black in it, somewhat like chimney soot. Exhaust stains will leave this black sooty look down the side of the fuse too, but often will appear more like a "tan" color near the actual stack itself. This I believe is again due to heat and the actual oil content being burned out of the soot residue on the airframe.
|

|
The "Human Factor"
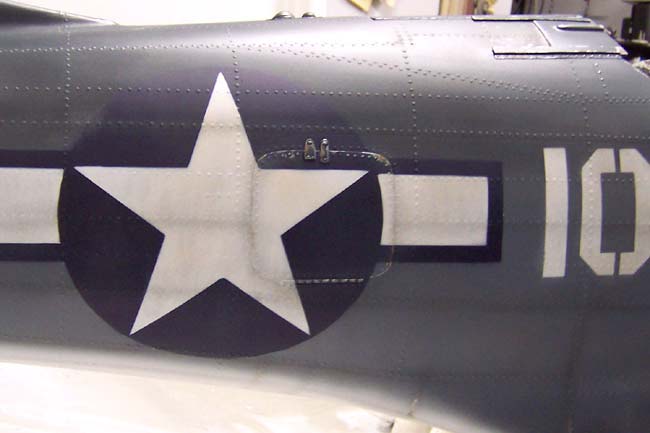
Studying my photos of both restored and historical Dauntlesses for weathering traits, I noticed one other thing that was extremely common. I've never seen this done before, but was willing to give it a shot...
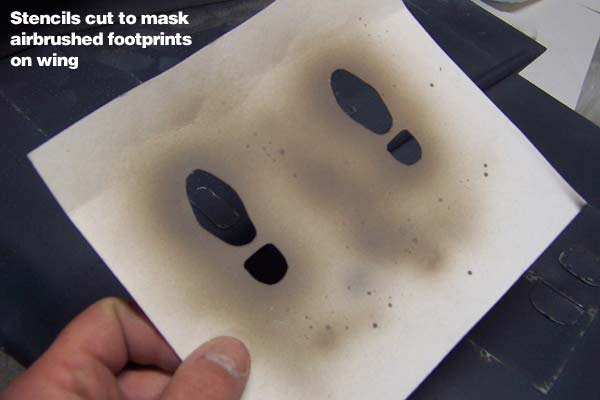
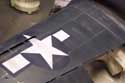
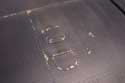
This effect I'll call "The Human Factor" is a reminder of the men who risked their lives in these planes every day. What is it? Simply put... footprints. Yes that's right, men had to walk around on the wings of these birds to climb in and out of them and also to refuel and service them. Put them out in the field or even on a carrier where they get dirt and or seasalt residue on the plane and shoes, and you've got the perfect recipe for footprints.
Knowing that "Jig Dog" was a tall man of over 6 foot, I assumed he would have a large shoe size of about... well... a "foot!" So, at 1/6 scale, that would make his footprints 2" long. I cut a left and right print out of posterboard and used it as a mask to airbrush a light gray-brown color onto the wing in random orientations.
You have to keep this just a light dusting of paint, and be sure to inclued "partial prints." The end result was really cool looking and shoud be a very unique touch to draw attention on the flight line.
|
|
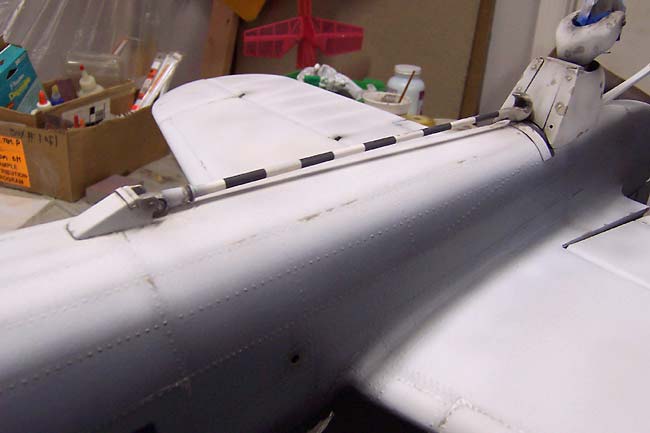
All Done!
Well that's pretty much it. She's all weathered and ready for decals and clearcoat. These have been my techniques and are certainly not the only way to go about it. I accumulated most of these techniques in years of IPMS competition (plastic scale modelling) and they helped me win a lot of competitions. The difficult transition for me was switching from 1/35 or 1/48 scale all the way up to 1/6 scale, and dealing with the fact that I'll have to keep my effects gas-proof for RC use. That's where the next step comes in... clearcoating.
|

"Decals and ClearCoating"
|